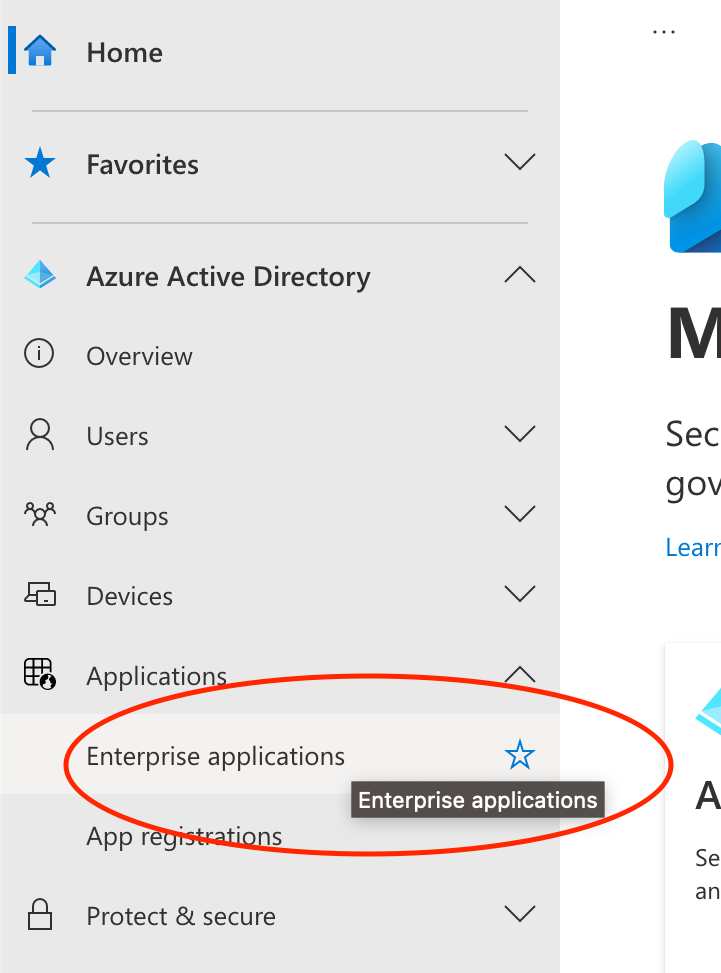
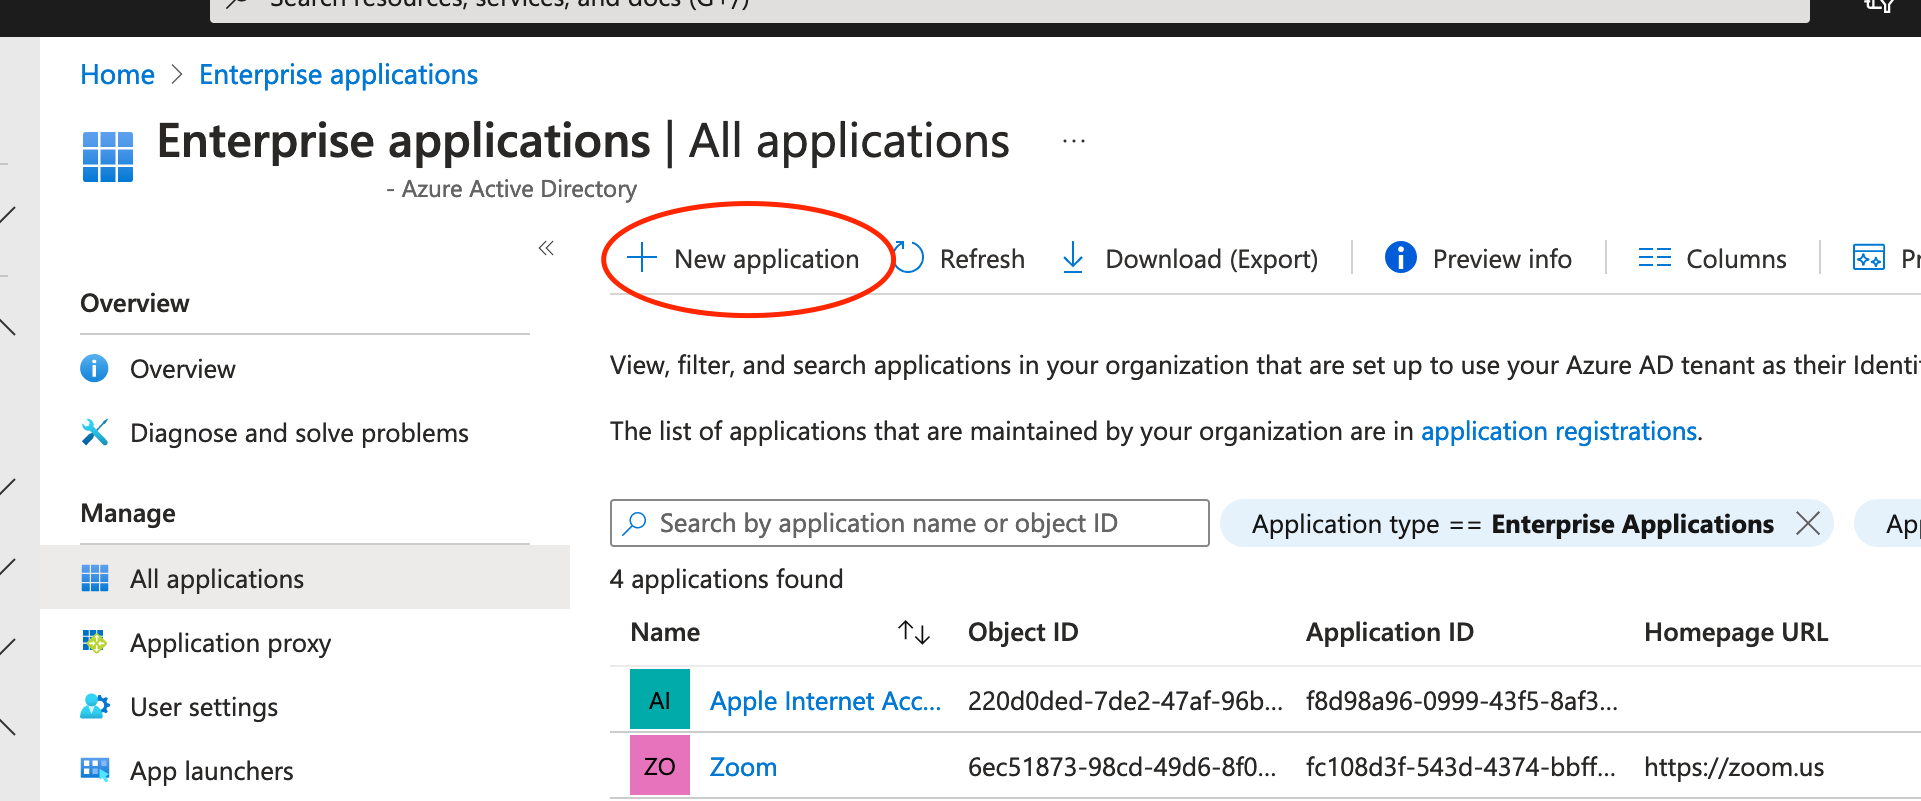
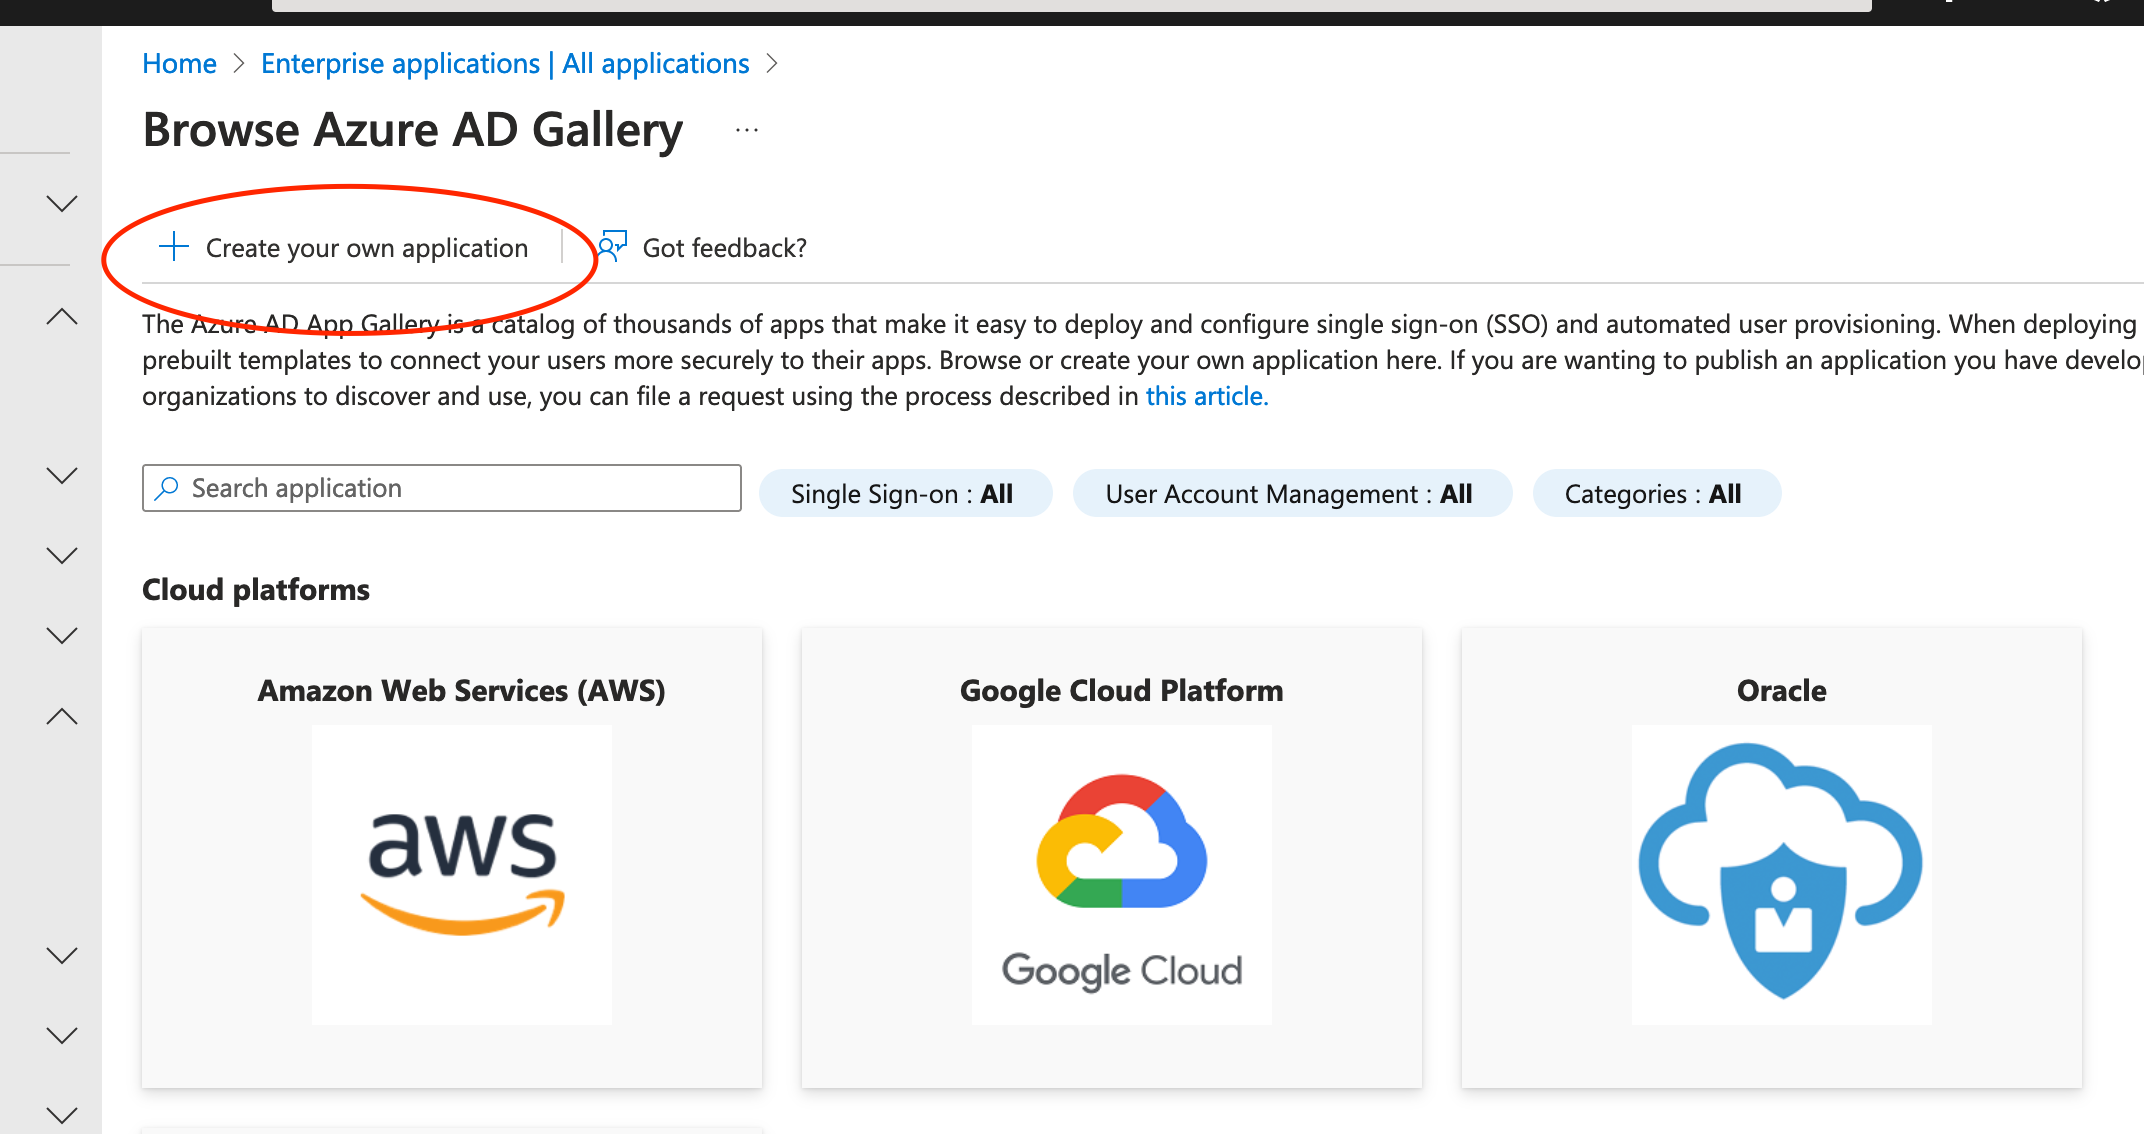
In the “Add your own app” section, click on “Non-gallery application”.
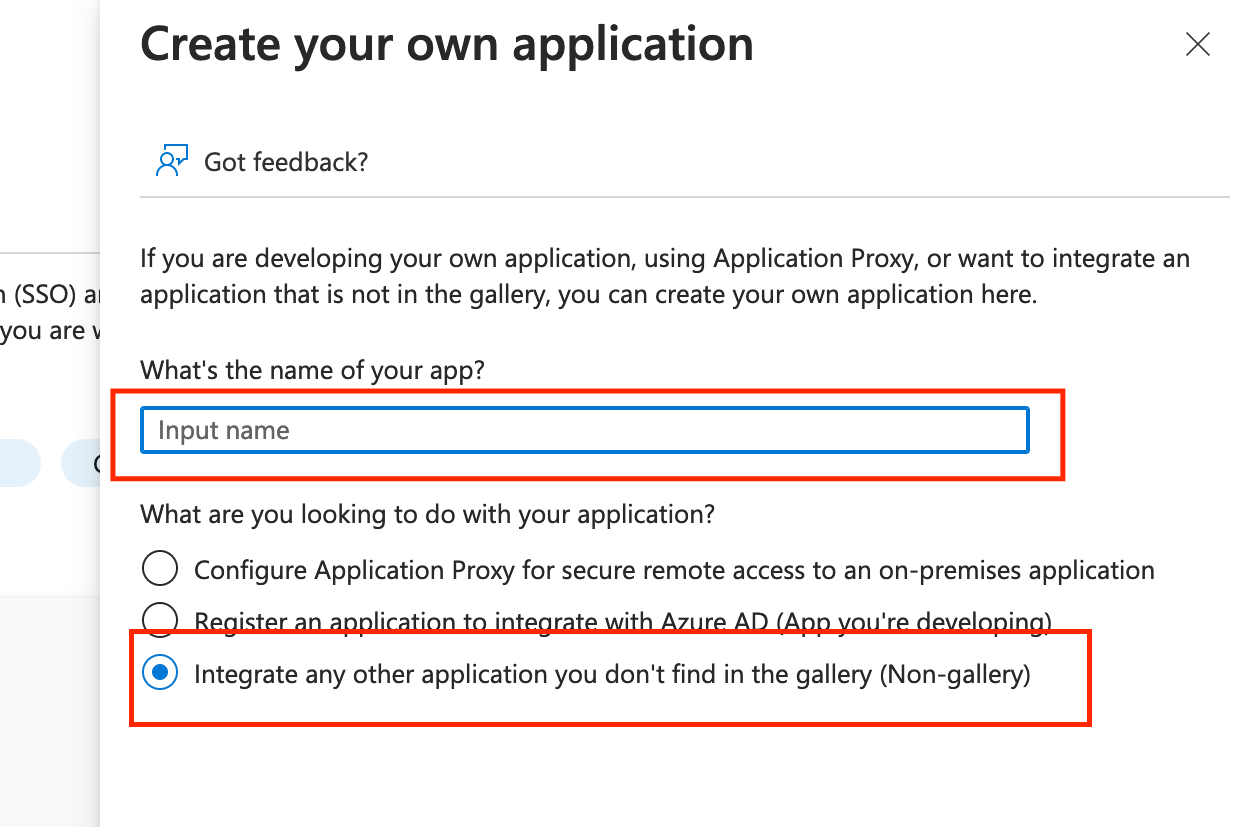
Enter a name for the application (for example, “Mailsac SSO”) and click “Create”.
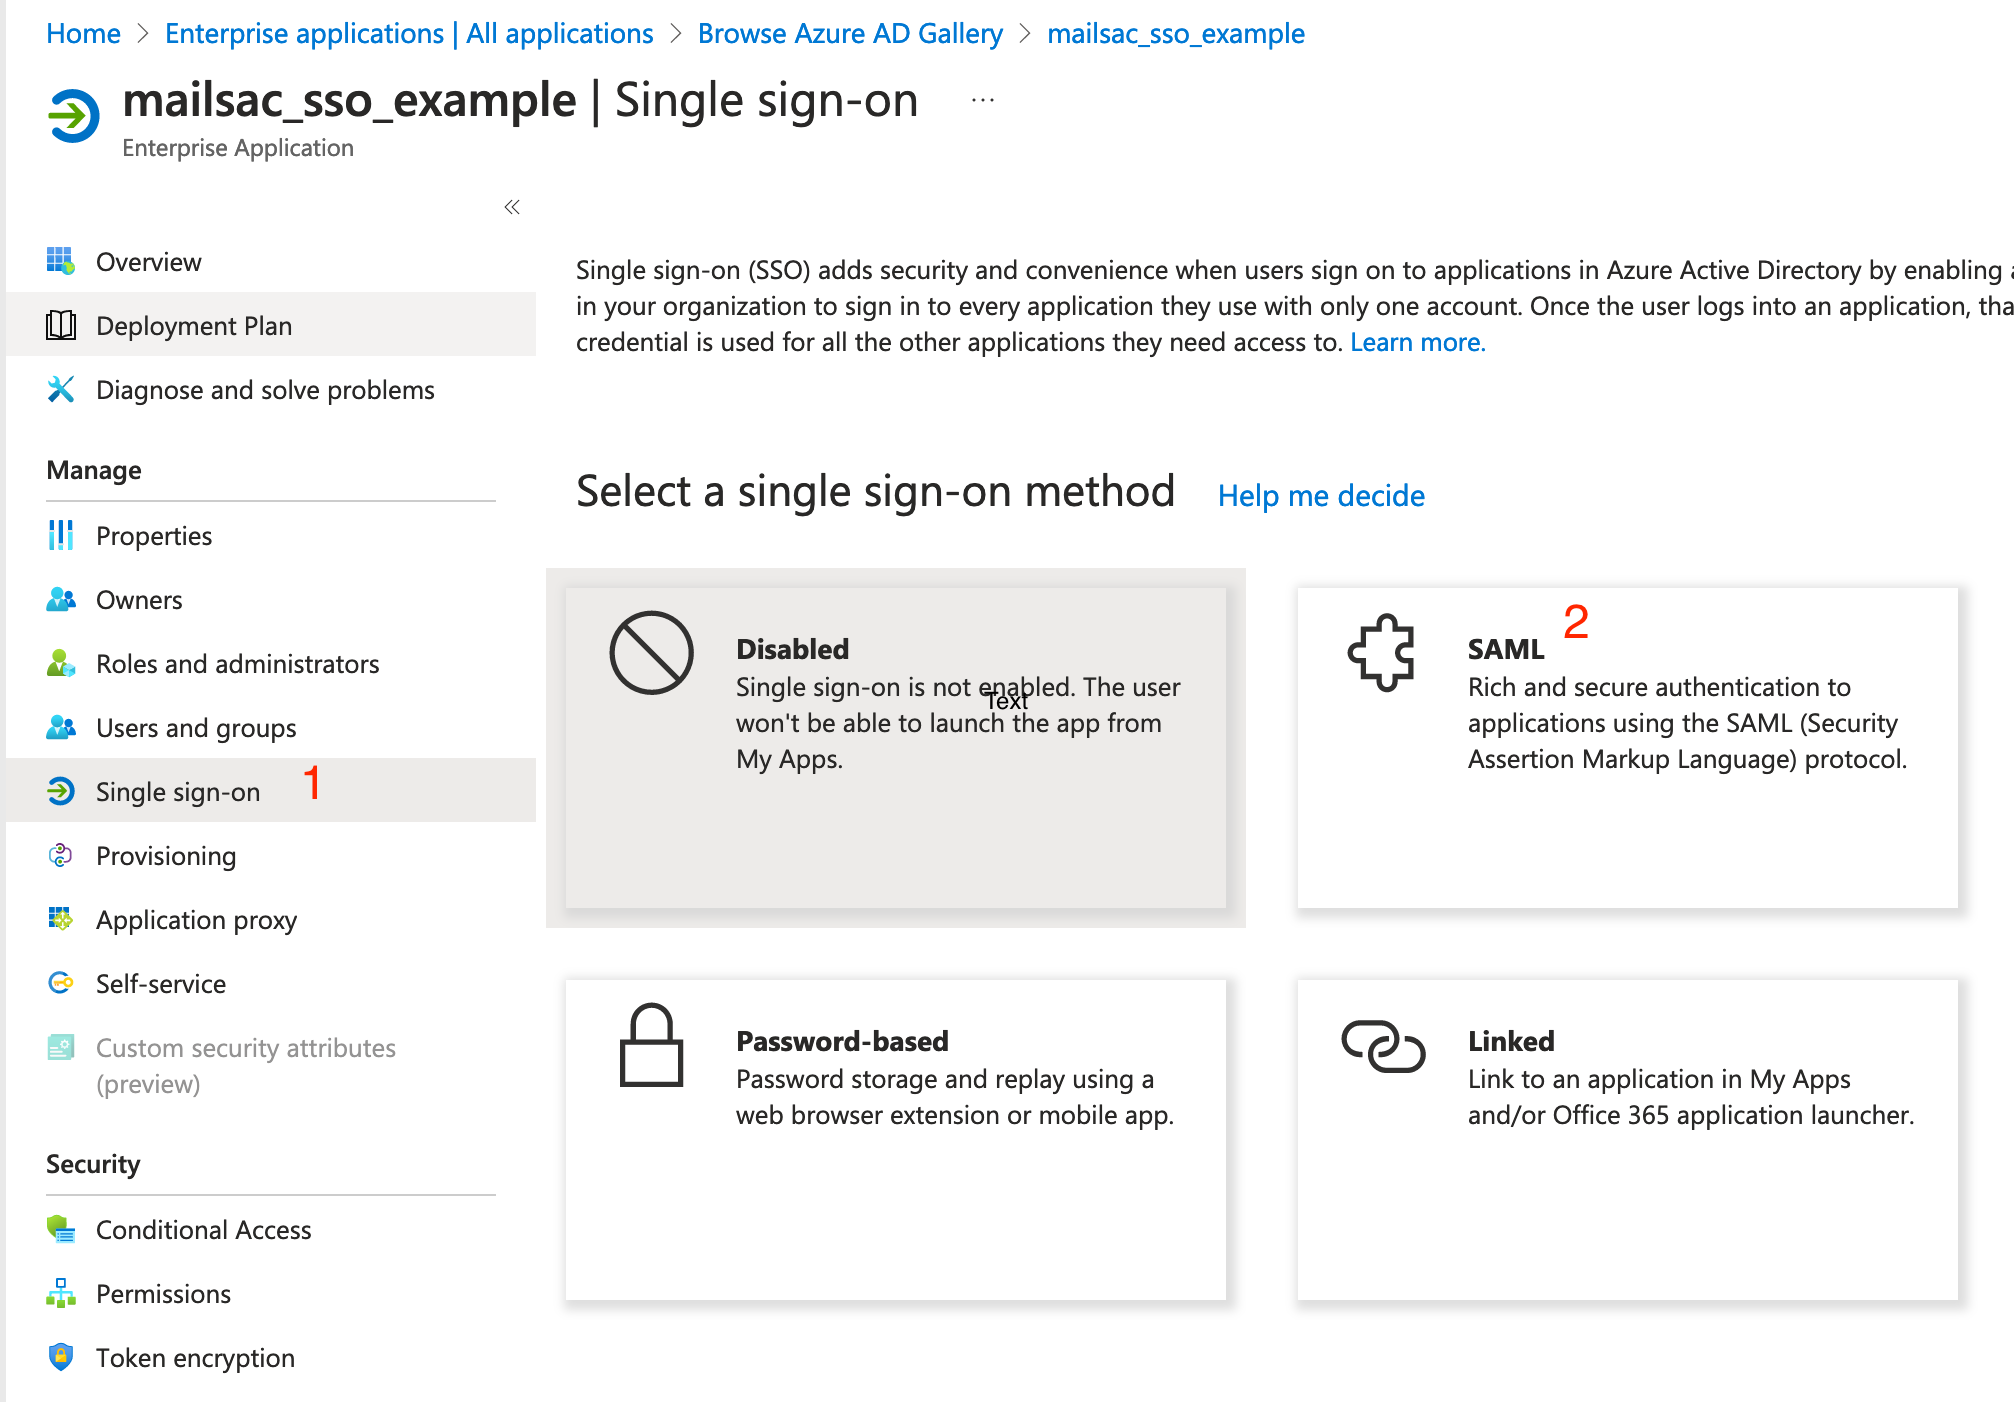
The “Set up Single Sign-On with SAML” page appears. In the “Basic SAML
Configuration” section, click “Edit” to open the settings. You’ll need to
add Mailsac’s Entity ID (Identifier) and Reply URL (Assert URL), which are
available on the Mailsac SAML page.
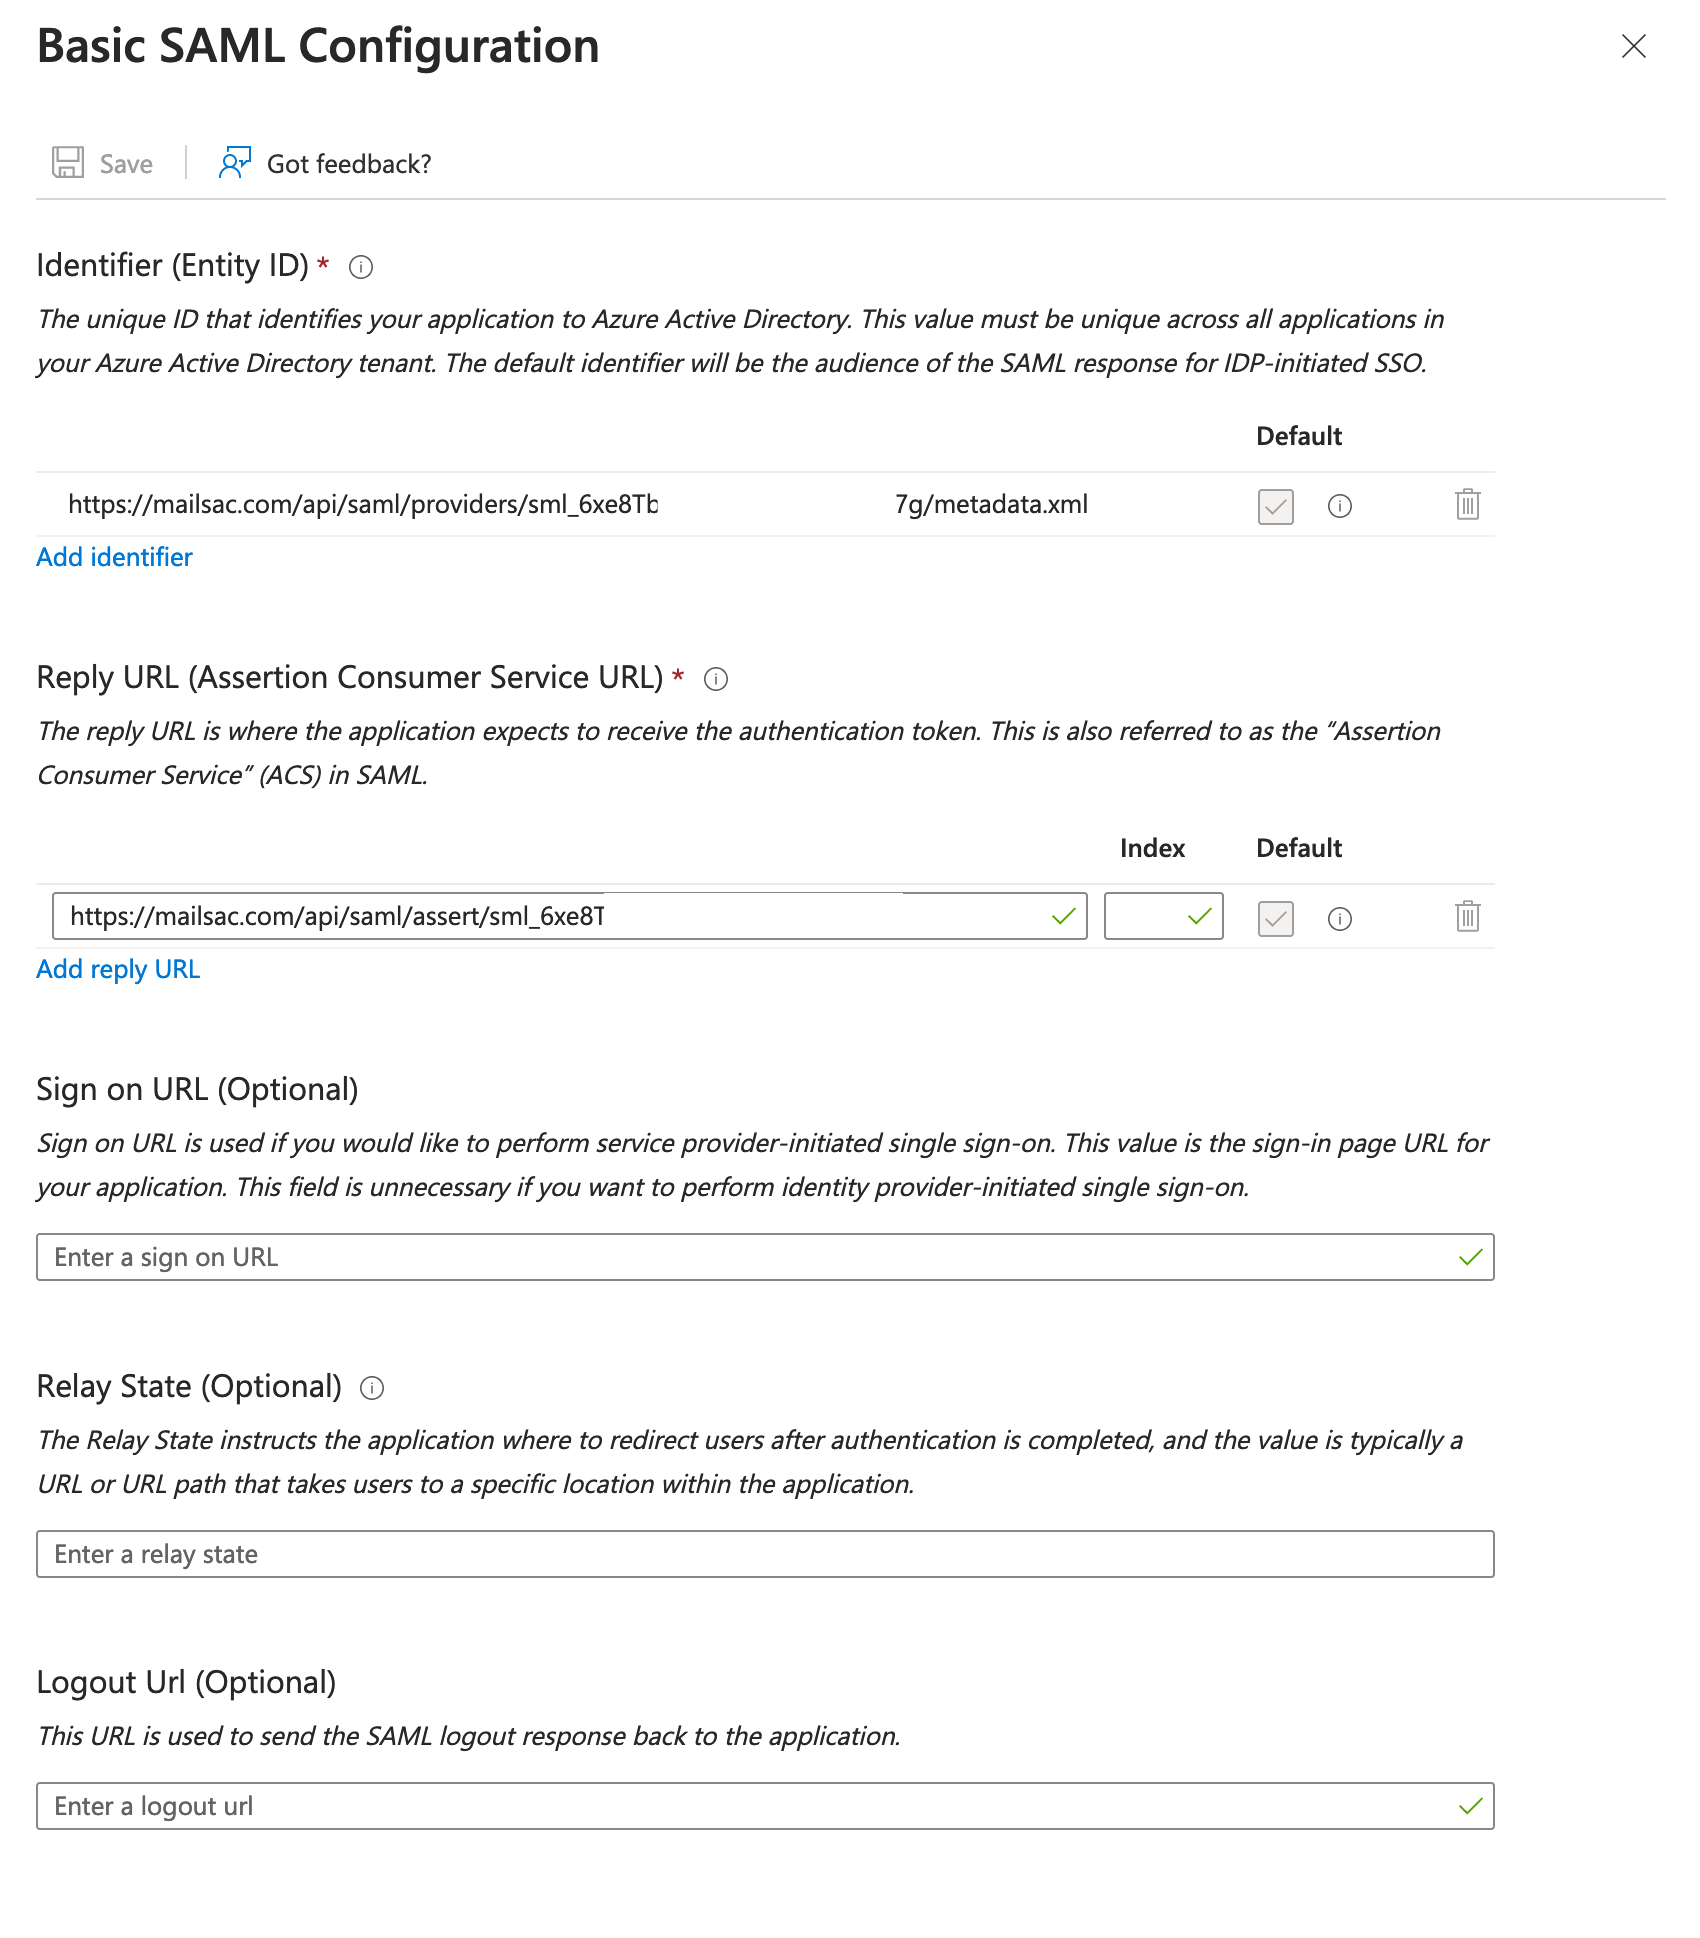
Click “Edit” in the “Basic SAML Configuration” section then add the
Entity ID and Reply URL.
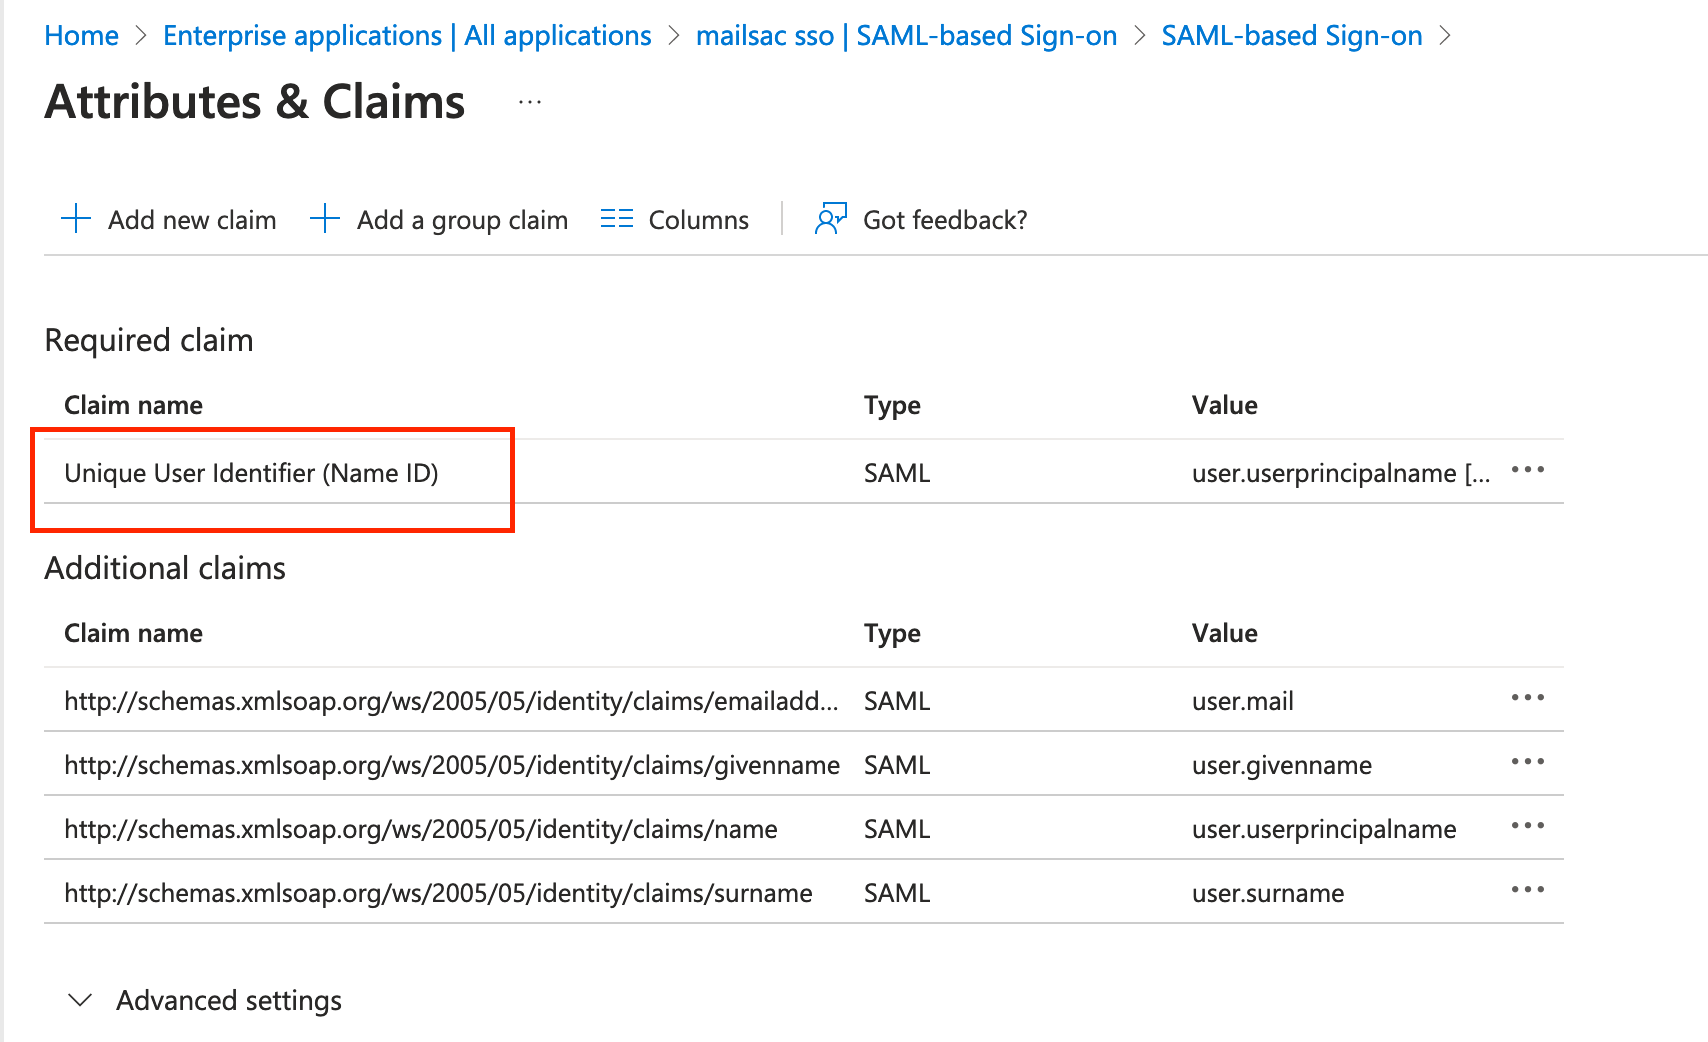
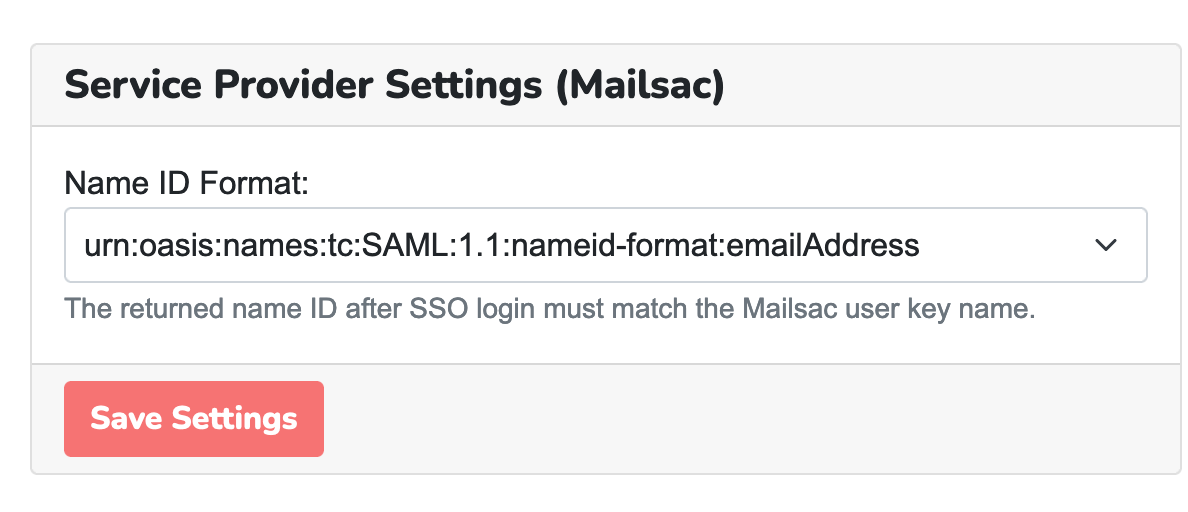
In the “Attributes & Claims” section, you will need to send
the Unique User Identifier (Name ID) to Mailsac. The default for this should be
acceptable.
Click “Edit” in the “Attributes & Claims” section then add the
Unique User Identifier (Name ID).
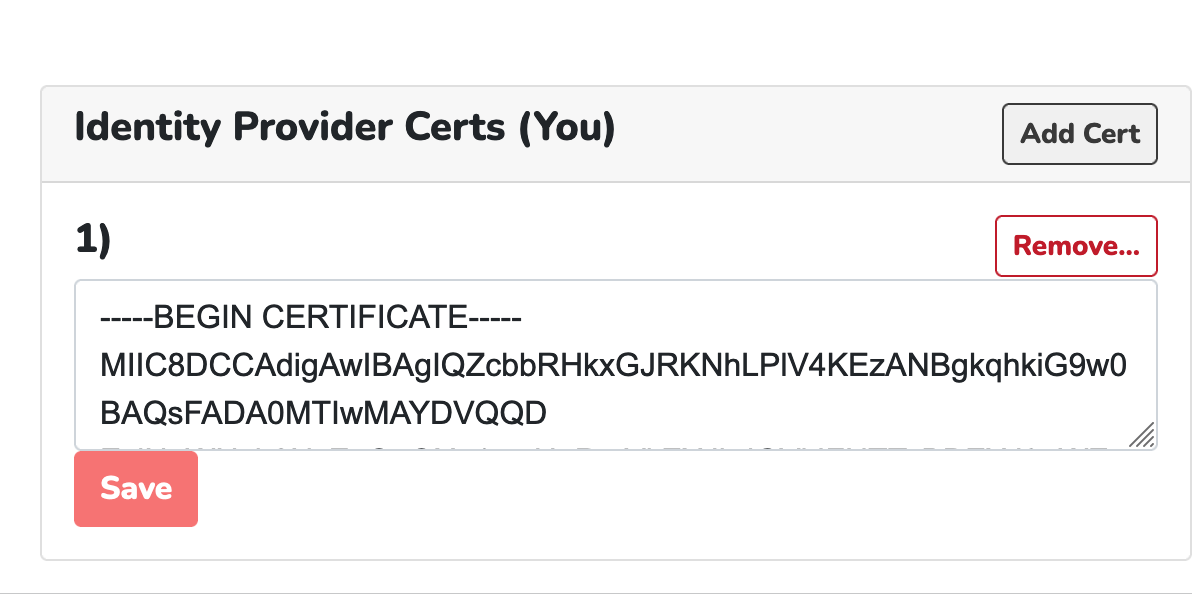
In the “SAML Certificate” section, download the SAML Certificate (Base64).
We’ll need this when configuring the Mailsac side of things.
Click “Download” in the “SAML Certificate” section.
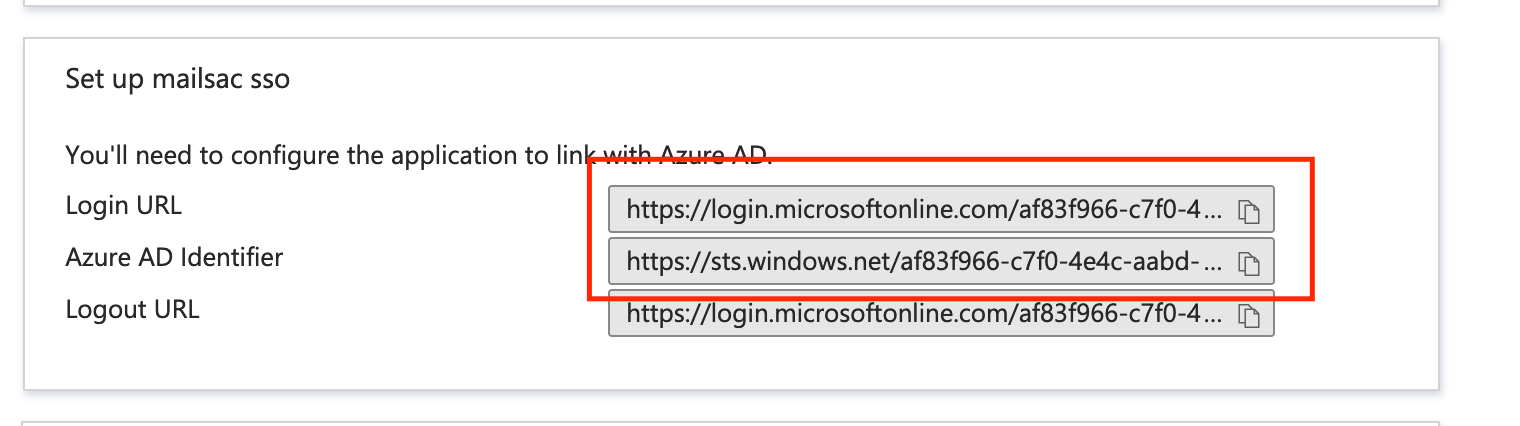
#. In the “Set up {Your Enterprise Application Name}” section, copy the
“Login URL” and “Microsoft Entra Identifier” values. We’ll need these when
configuring the Mailsac to work with Entra.
Copy the “Login URL” and “Microsoft Entra Identifier” values.
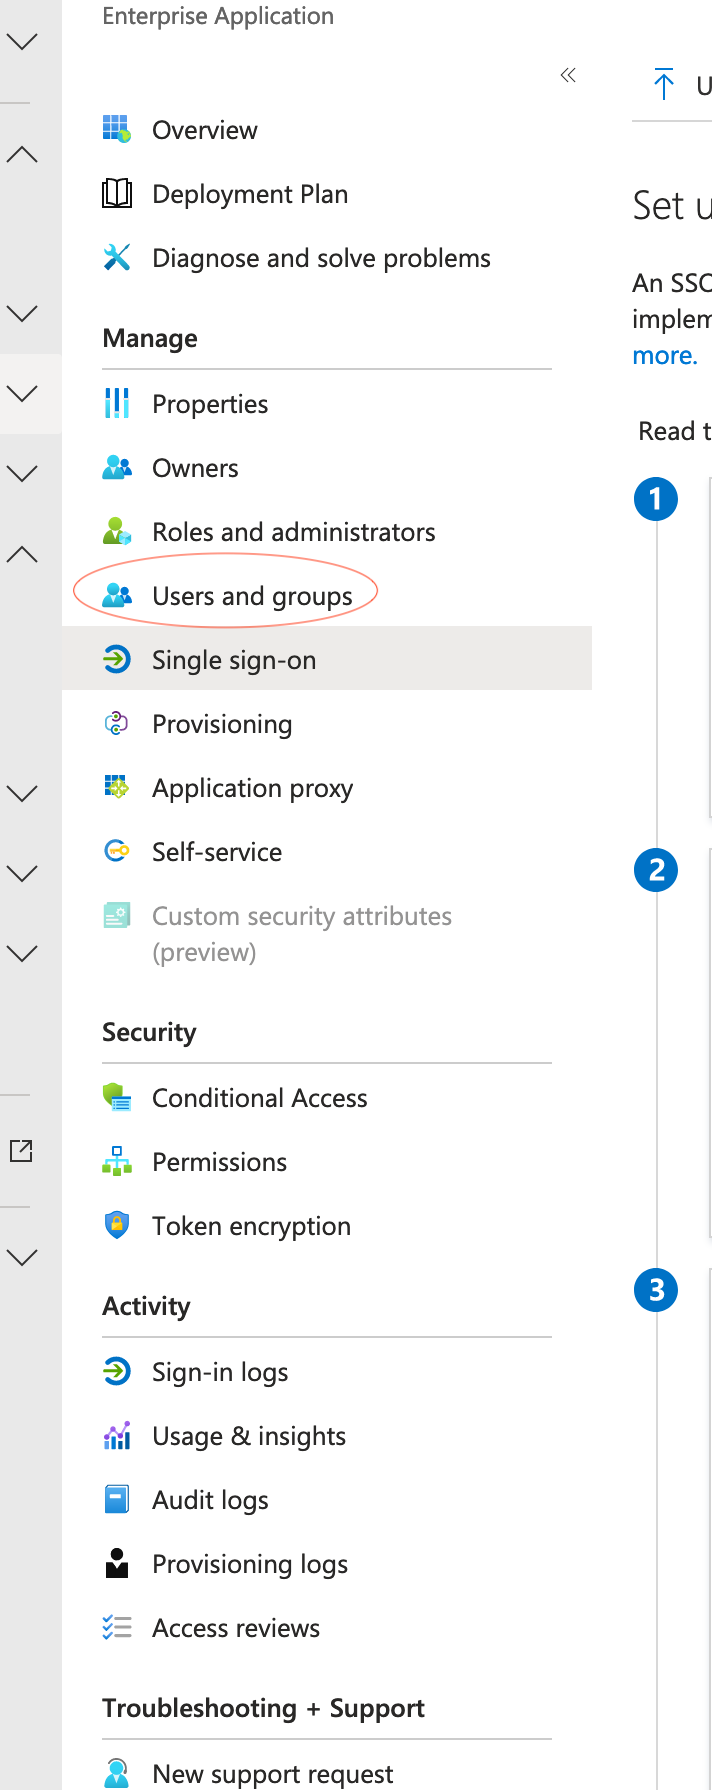
In the “Users and Groups” item in the sidebar, you can add users and groups
that will be able to sign in to Mailsac using Microsoft Entra.
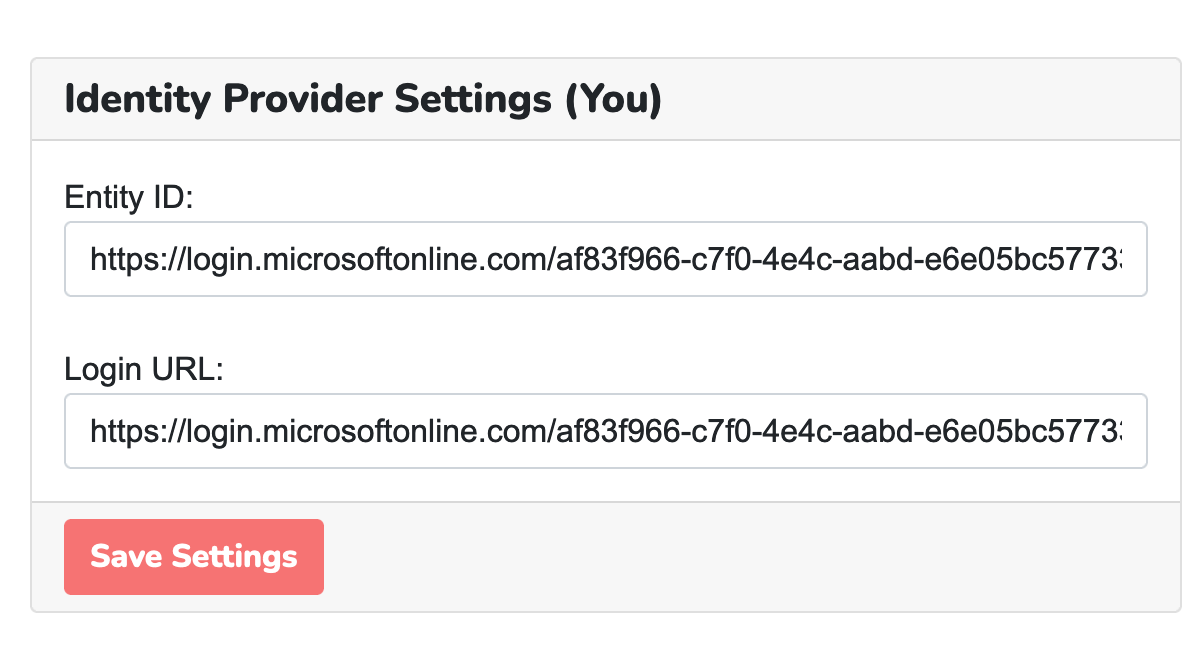
In the “Identity Provider Settings”, paste the “Entity ID” and “Login URL”
from Microsoft Entra.
Paste the “Entity ID” and “Login URL” from Microsoft Entra into the
“Identity Provider Settings” section.
The final step is to add a team user
to Mailsac. Open the API Keys and Users page and click “Manage Users”.
Add a user with the same name as their Microsoft Entra email address.
Click “Manage Users” and add a team user with the same name as their
Microsoft Entra email address.
Now, Mailsac and Entra are configured for SAML SSO. Users will be able to
sign in to Mailsac using their Microsoft Entra credentials.