Credential Management
There are different ways to authenticate to Mailsac services depending on the service being consumed.
Standard Login: Used to authenticate to Mailsac.com Website
Team User Login: Used to authenticate to Mailsac.com (available to Business and Enterprise Plans)
API Key: Used to authenticate to the REST API, Email Capture, POP3.
POP3 Password: Used to authenticate to POP3 Service
Password Change
An account password can be changed on the Website under Manage Account Details. If you have forgotten your password use the Password Reset Form to send a password reset email.
Team users will need to contact the Primary Account Holder to reset their password.
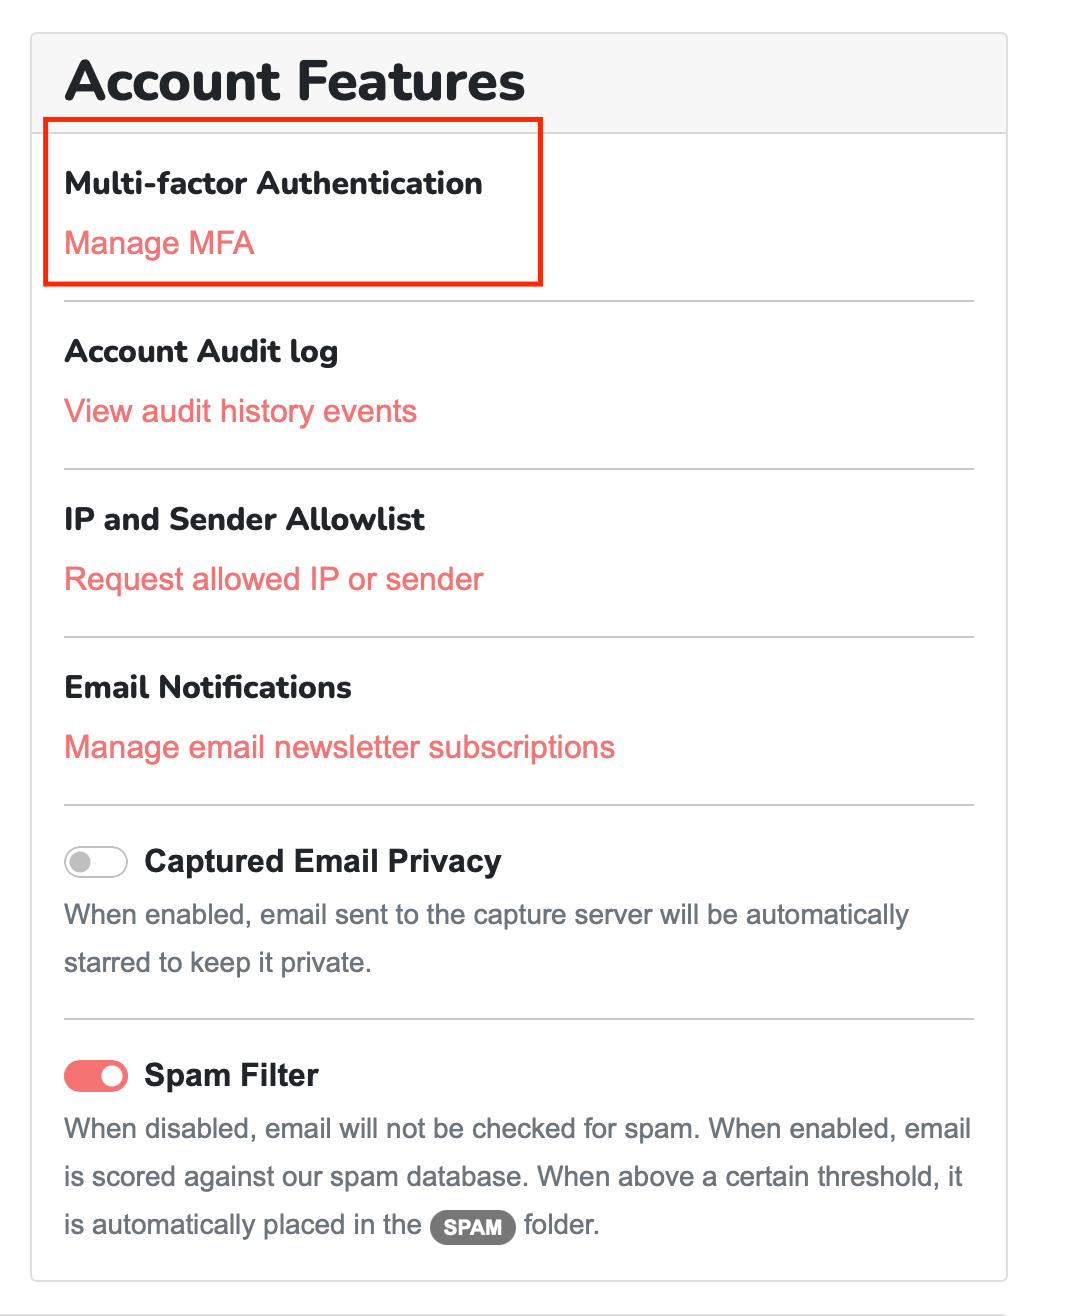
Multi-Factor Authentication (MFA)
Multi-Factor Authentication (MFA) can be enabled on the account to add an additional layer of security to the account. MFA can be enabled from the Manage Account Details page on the Dashboard.
Enable Multi-Factor Authentication (MFA)
Select “Generate MFA” to generate a QR code that can be scanned by an MFA application such as Google Authenticator or Authy. A secret key is also provided that can be entered into the MFA application if the QR code cannot be scanned. Recovery codes are provided that can be used to access the account if the MFA device is lost.
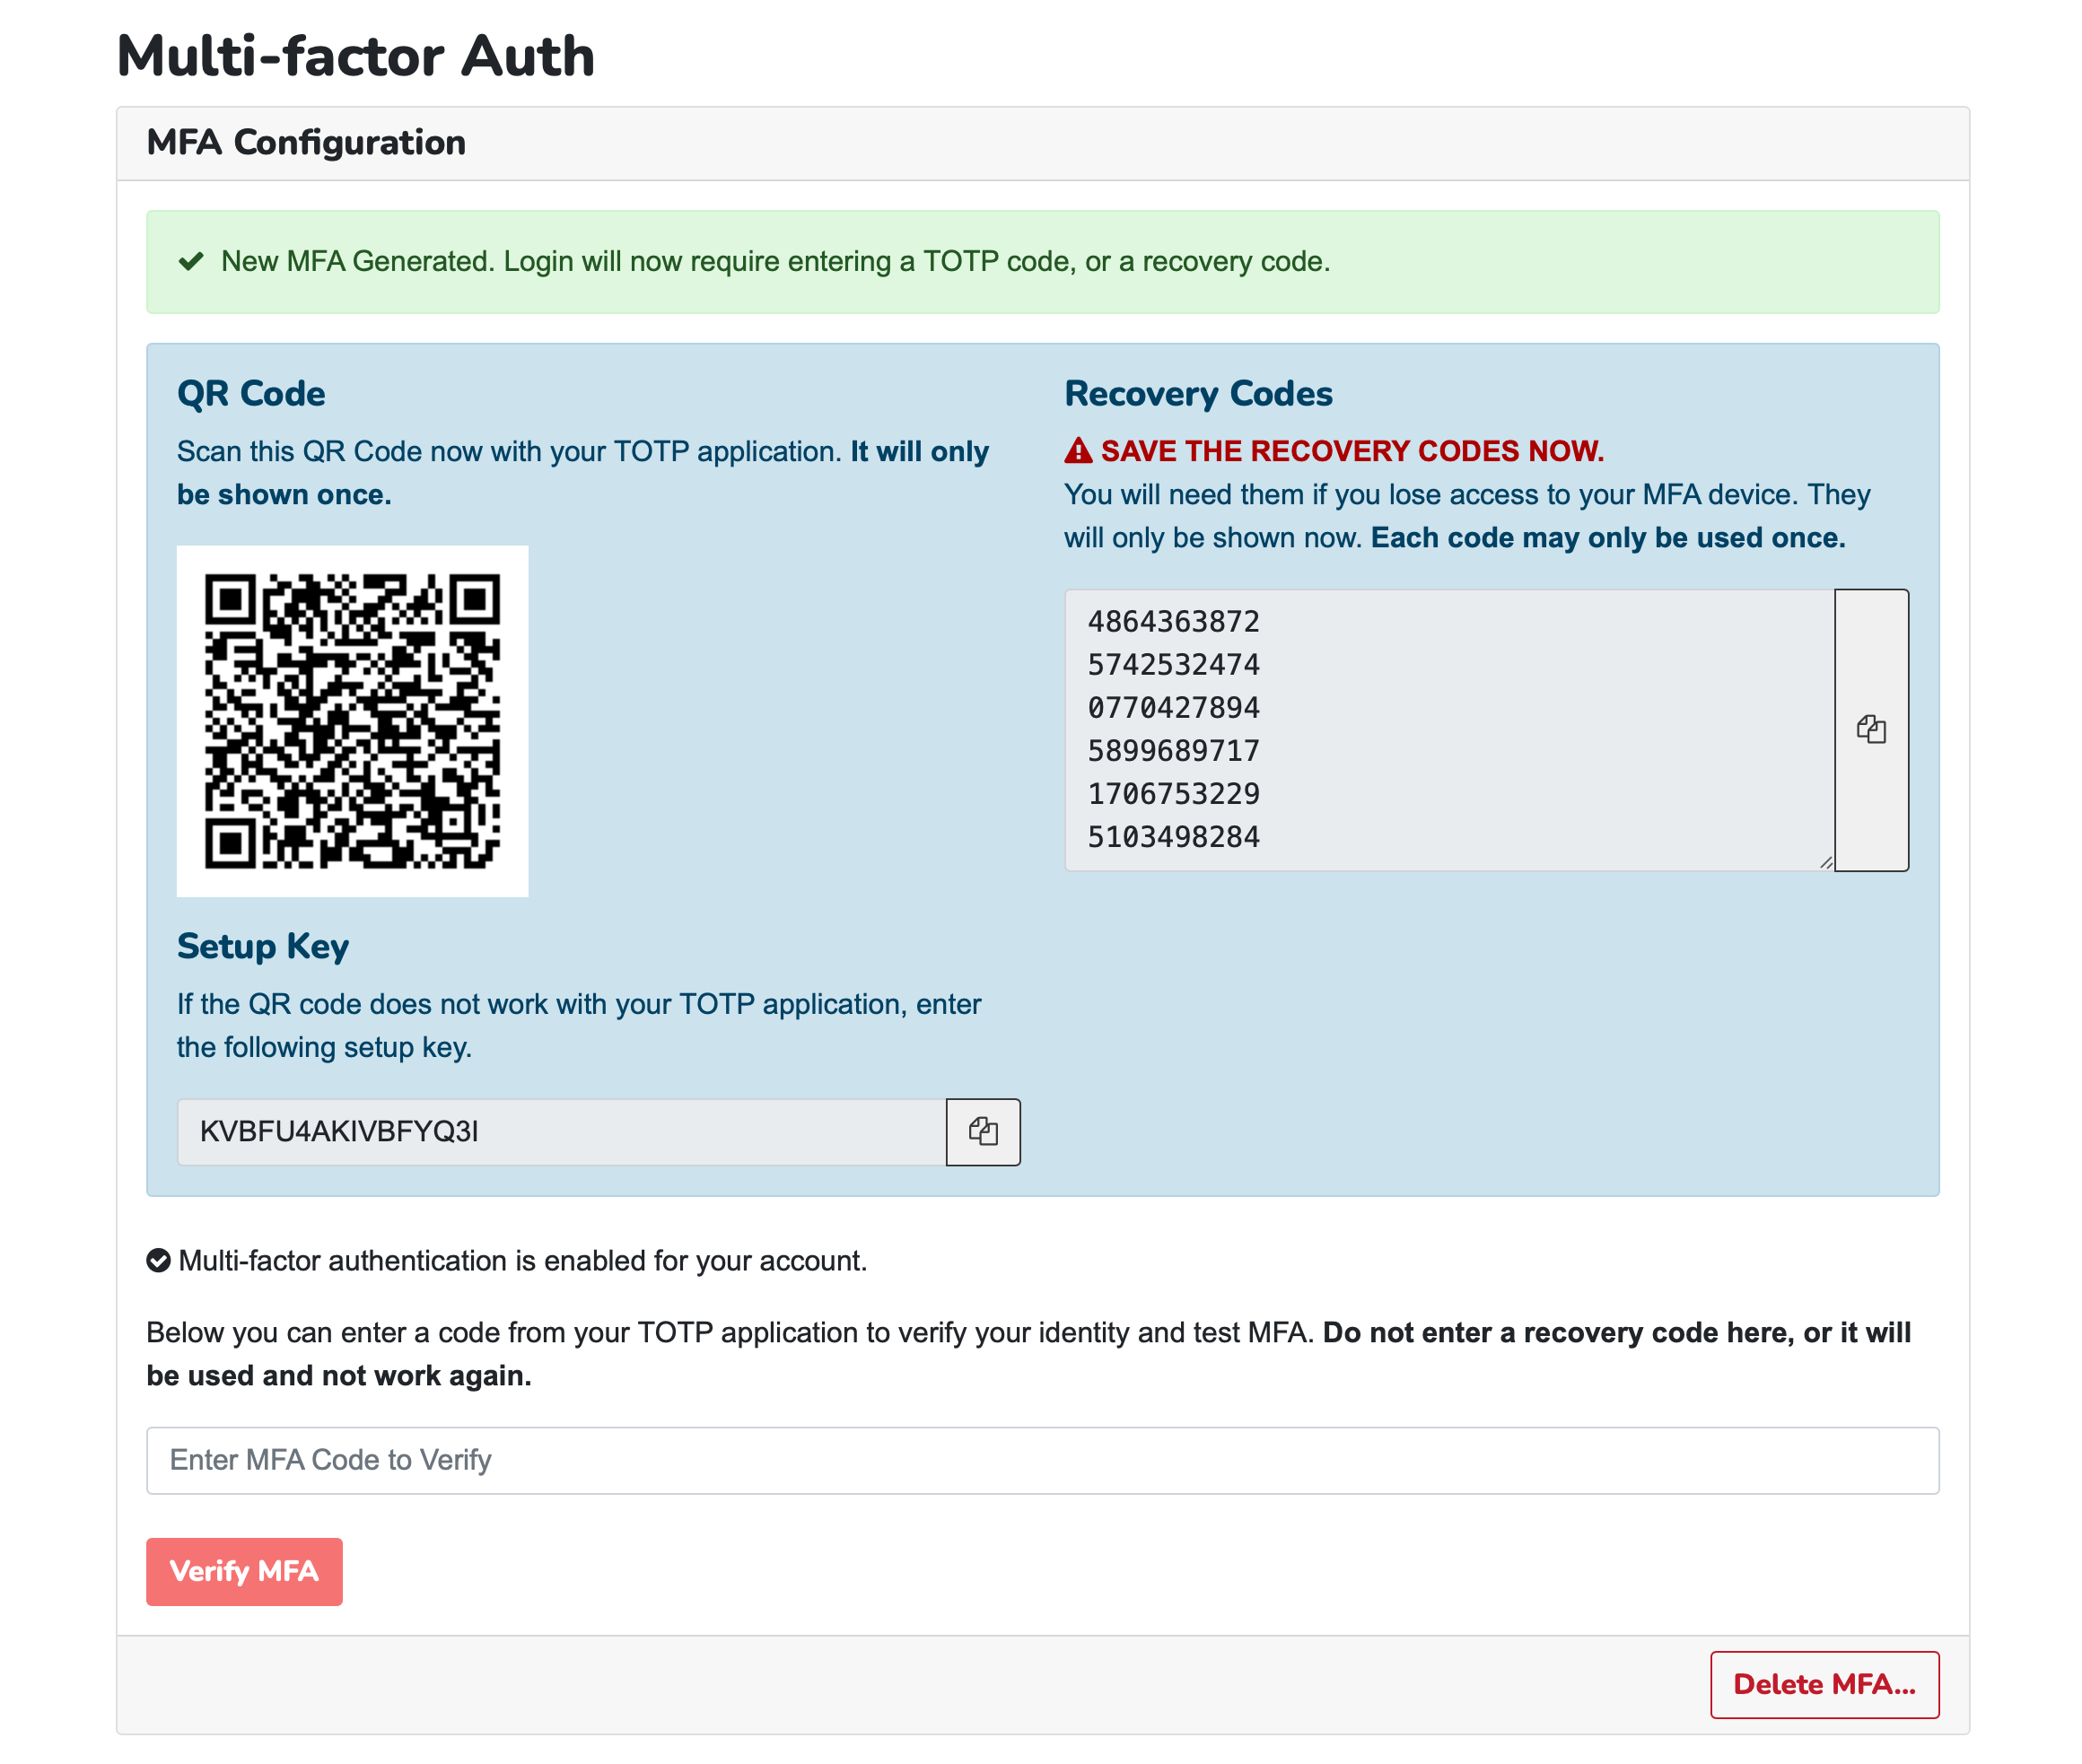
MFA Configuration
You will prompted to confirm MFA is working by entering a code from the MFA application. After confirming MFA is working, MFA will be enabled on the account.
You can also disable MFA from the Manage Account Details page.
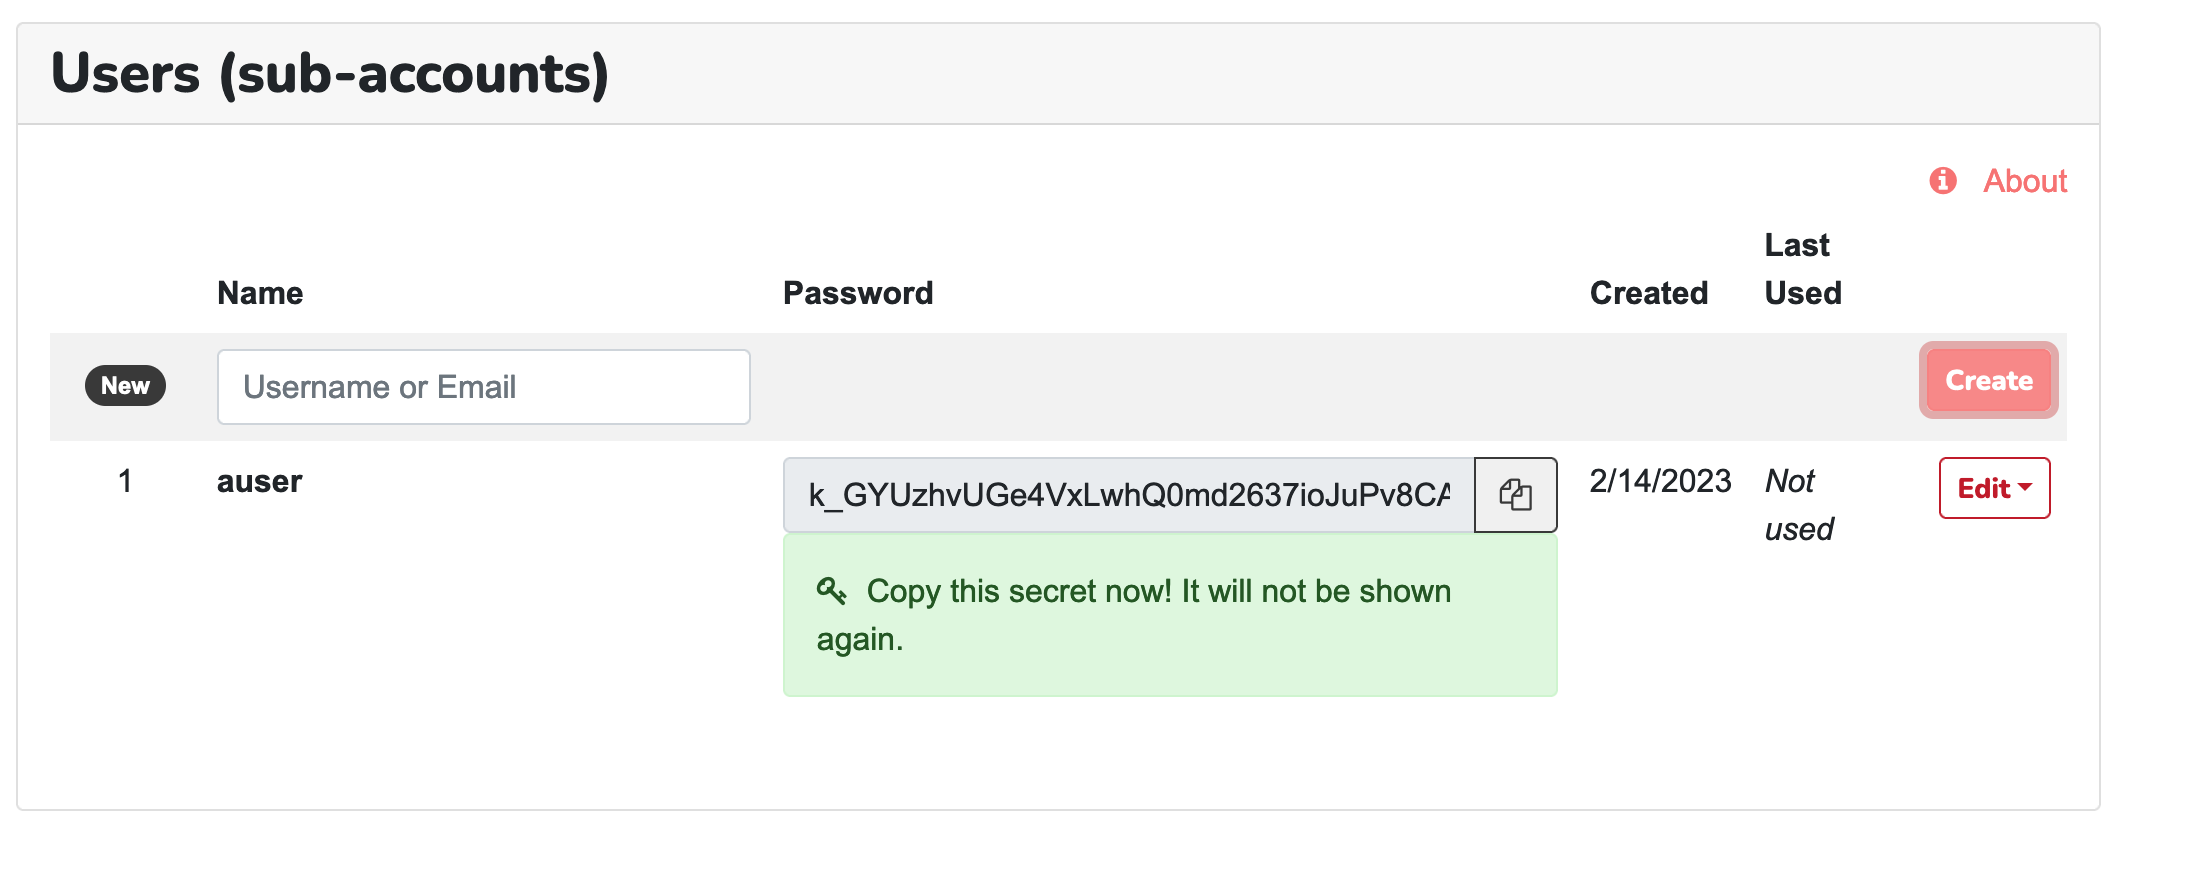
API Key Management
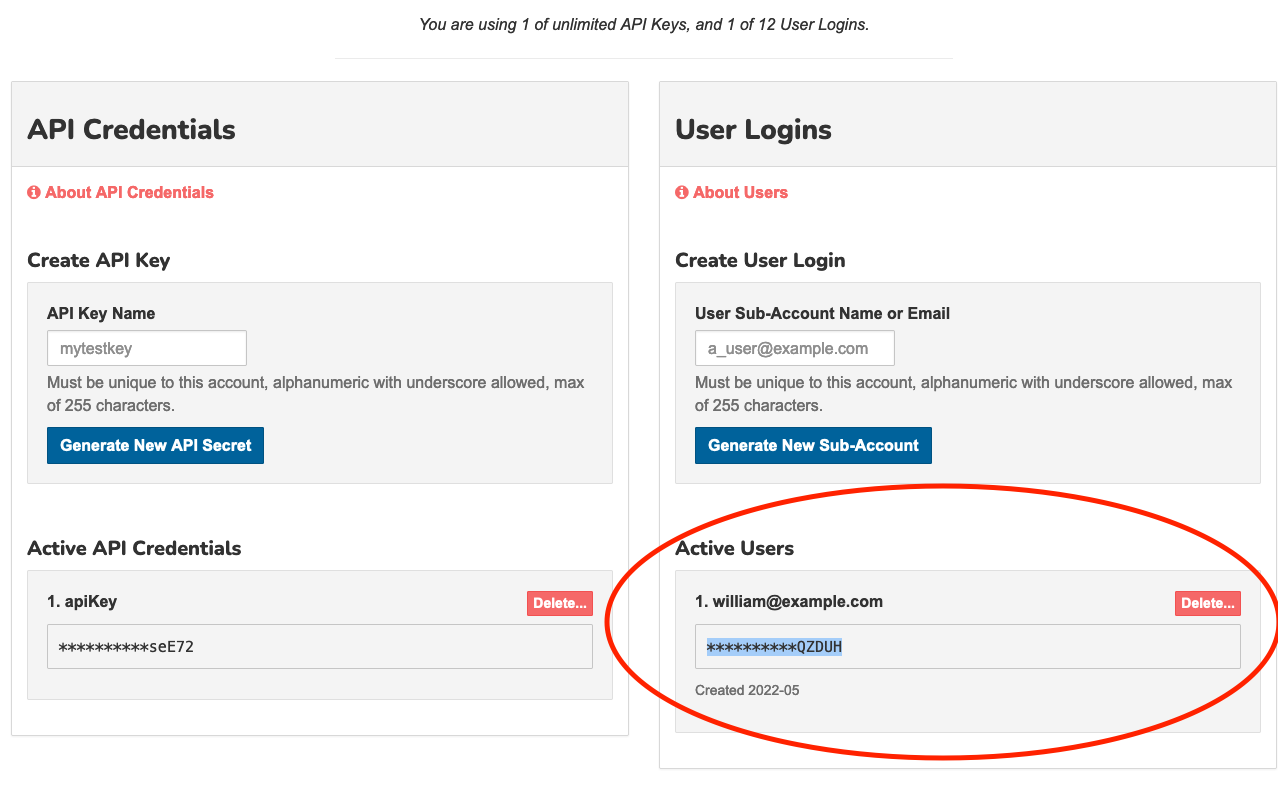
API keys are used to authenticate to the REST API, Email Capture, POP3.
API Keys can be created , regenerated, and deleted in the API Keys and Users section of the Dashboard.
Multiple API Keys
For accounts on Business or Enterprise plans, multiple API keys may be created, each with a unique name.
Having multiple API keys enables:
restricted access control
usage monitoring
separate API Keys for different testing environments
To create an API key, go to API Keys and Users and select “Manage Keys” from the Dashboard. Enter a name for the API Key and select Generate new API key. API Keys may only be viewed once and are not retrievable by the system. API Keys should be treated with the same security considerations as a password.
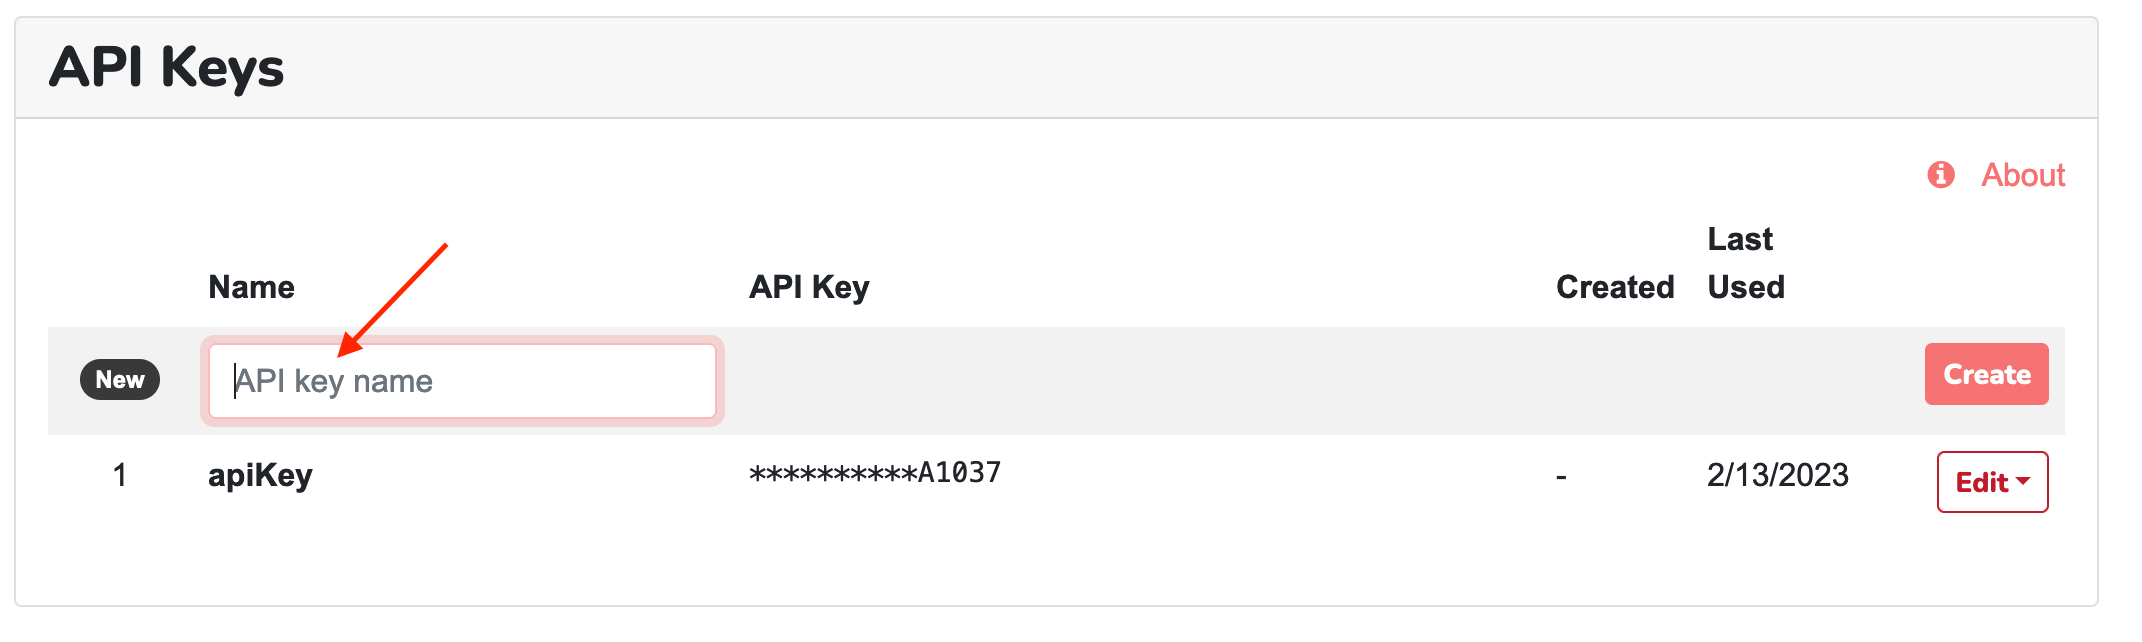
Create new API key
Team Users
Team user accounts are restricted from a subset of Mailsac functionality:
Account deletion
Billing management
API key management
User management
Custom domain management
Receiving usage and analytics
Team user accounts can:
Create enhanced email addresses
Access and manage messages owned by the team including messages sent to enhanced email addresses and private custom domains
Access the REST API
The team users feature is available on Business and Enterprise Plans. If a team user needs to access account management features, the root account can allow temporary elevation to a root account session.
A team user’s password serves both as the password to the Mailsac.com website and the REST API.
Create Team User
Team users can be created from the Dashboard under API Keys and Users by selecting “Manage Users”
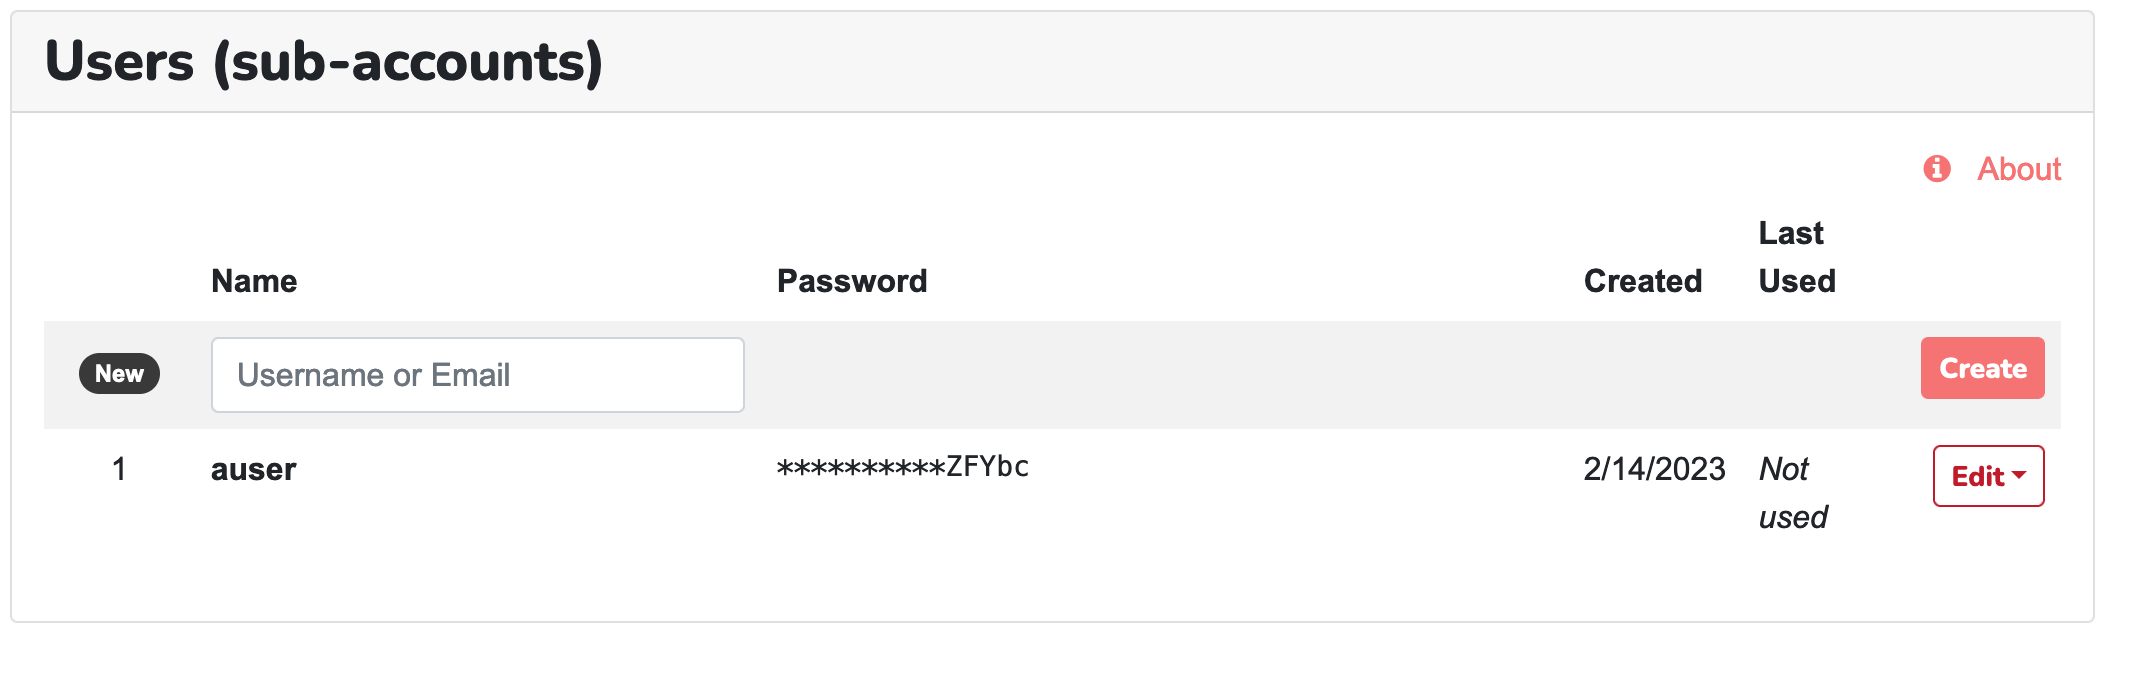
Create Team User Login
The password for the user login is automatically created. It can only be viewed once.
User Login Credentials
When logged into the website using a team user login, the user session is restricted from:
viewing and modifying payment information
adding or removing API keys
managing account features
adding or removing custom domains
The root account can allow selected team users to temporarily elevate to a root account session when they need to perform account administration.
Login Using a Team User
Use the Team User Login to sign into Mailsac as a team user.
Primary Account ID: The primary account name used to sign up for Mailsac
User Name: The name of the user login
Password: The password for the user
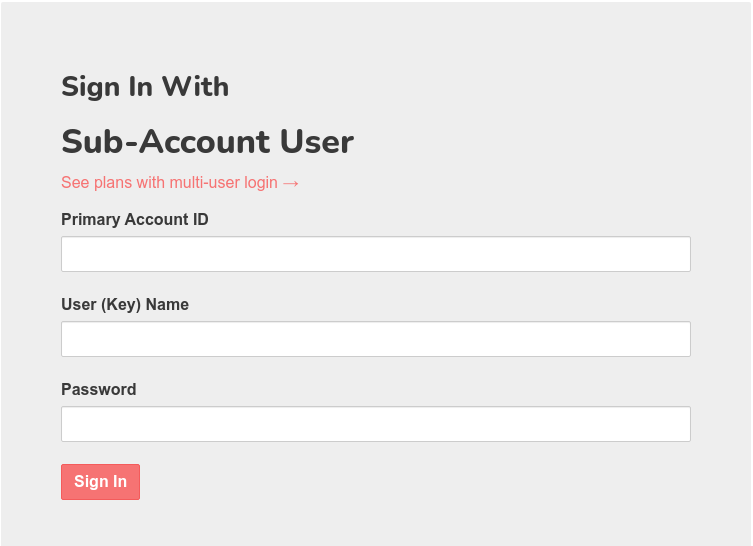
Login using a Team User.
Allow a Team User to Elevate to Root
Root elevation lets an approved team user replace their current browser session with a root account session. A root account session has full account permissions, including access to billing, user management, API keys, custom domains, and other sensitive account settings.
Root elevation is disabled by default and can only be enabled for team users. It is not available for API keys that are only used for REST API access.
To allow a team user to elevate:
Sign in as the root account.
Open API Keys and Users from the Dashboard.
Select “Manage Users”.
Select “Edit” then “Manage” next to the team user login.
Enable “Allow this team user to elevate to root”.
Select “Save”.
After elevation is enabled, the team user can elevate from the website:
Sign in with the Team User Login.
Select “Elevate to Root User” from the dashboard sidebar, or go directly to Elevate to Root.
Re-enter the team user password.
If MFA is enabled for the team user, enter the MFA/TOTP code.
Select “Elevate to Root”.
After a successful elevation, Mailsac redirects the browser to the dashboard with root account permissions. To return to a restricted team user session, log out and sign in again using the team user login.
Only enable elevation for team users who are trusted with full account access. Successful root elevations are recorded in the account audit log.
Reset Team User Password
Team User passwords are generated automatically because they also serve as an API key. In order to reset the Team password the user can be recreated by selecting “Regenerate Password”. This can be done from API Keys and Users
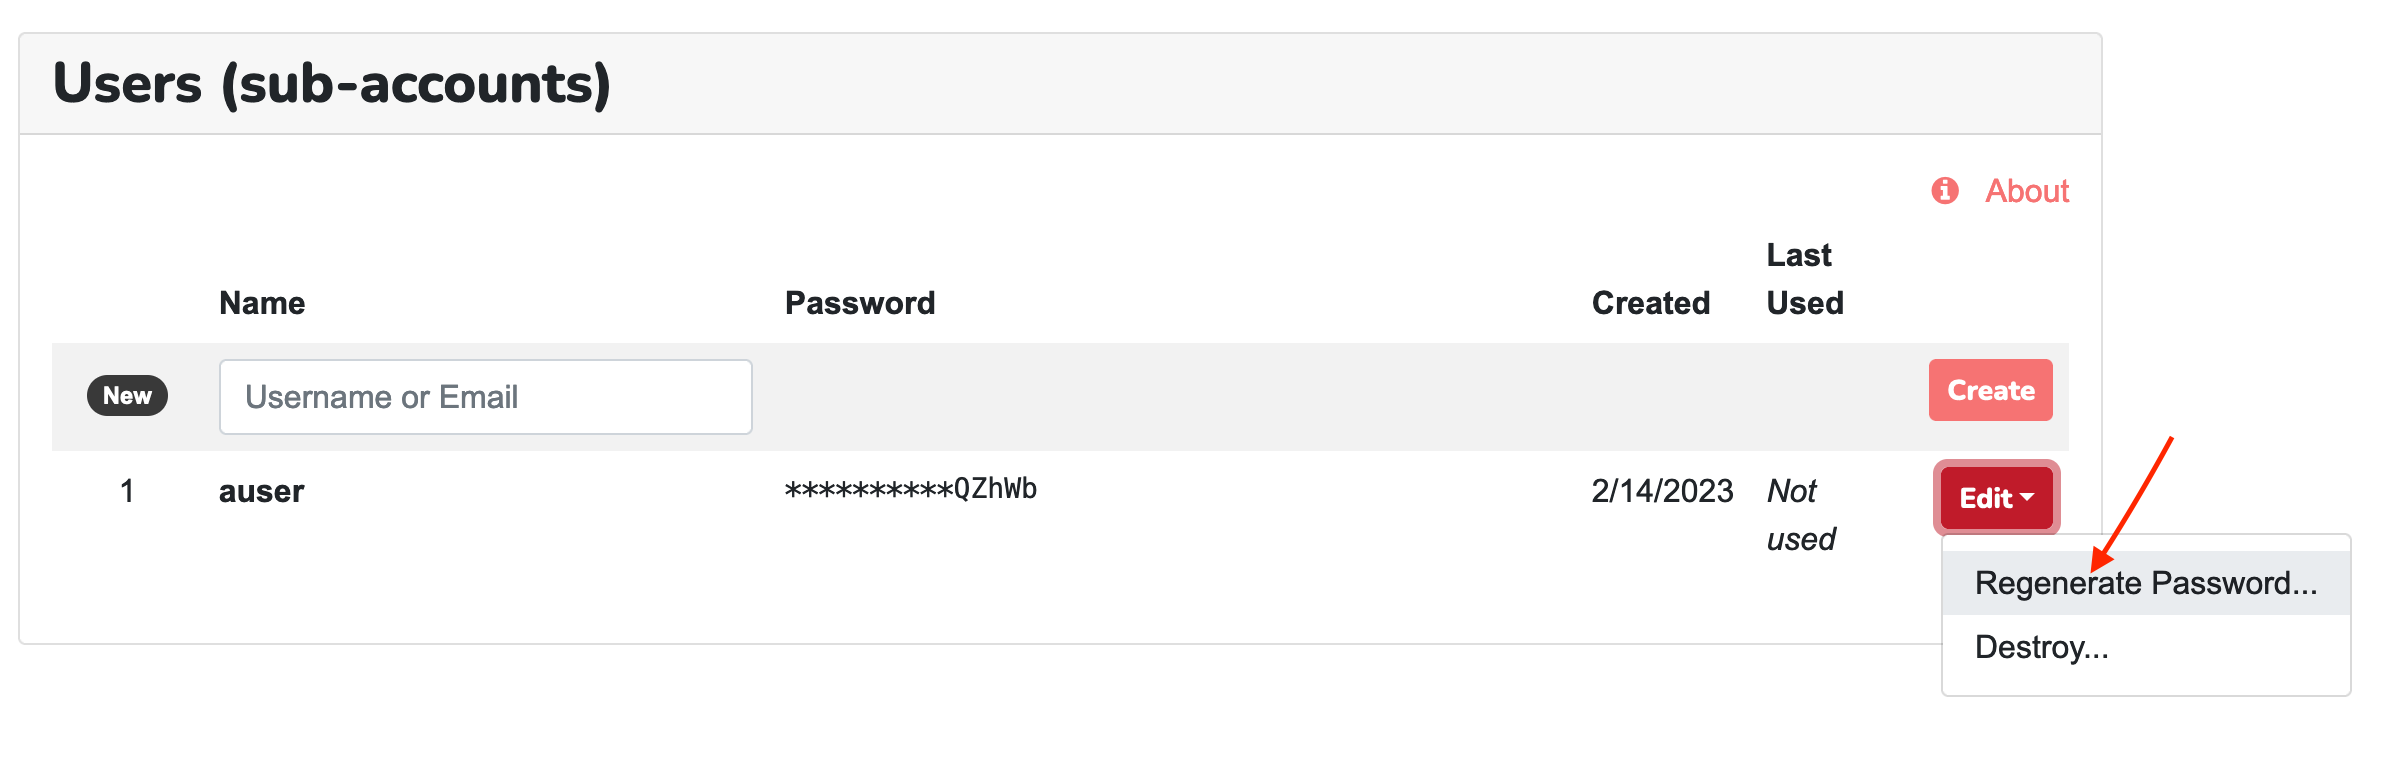
Regenerate team user password.
Remove Team User
Team users can can be removed by clicking on the “Delete” button next to the user login on the API Keys and Users page.
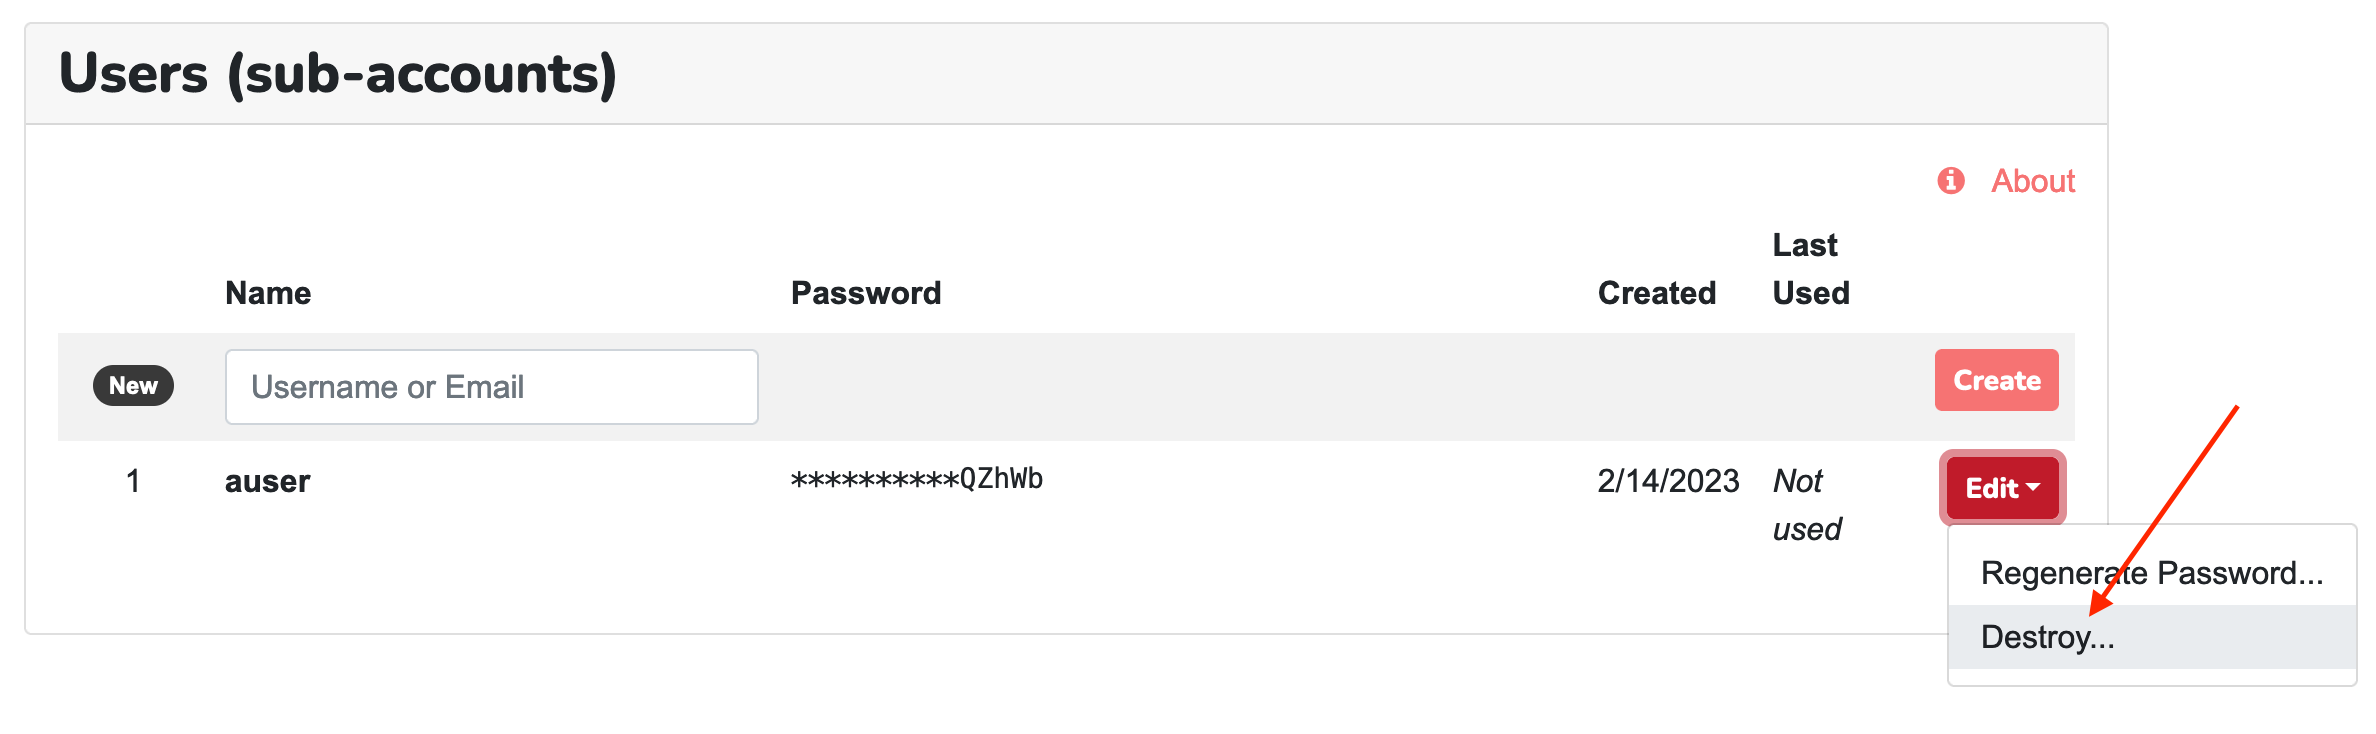
Remove Team user.
SAML/SSO Integration
SAML provides a way for team users to authenticate using a third party identity provider. Mailsac has been tested with Okta, Google Workspace, and Microsoft Entra. Other SAML identity providers may work since SAML is based on a standard framework.
SAML Setup
Select SAML/SSO from the Dashboard. Then click the button “Generate SAML Service Provider”.
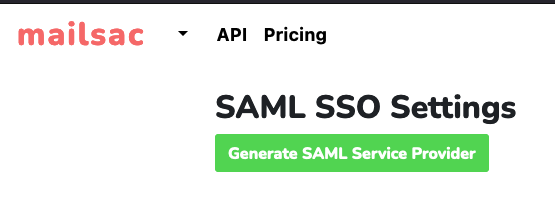
Generate SAML Service Provider
The next screen will contain “Service Provider Info”, which will be required by your identity provider. The section “Identity Provider Settings” will be filled in with information generated by your identity provider.
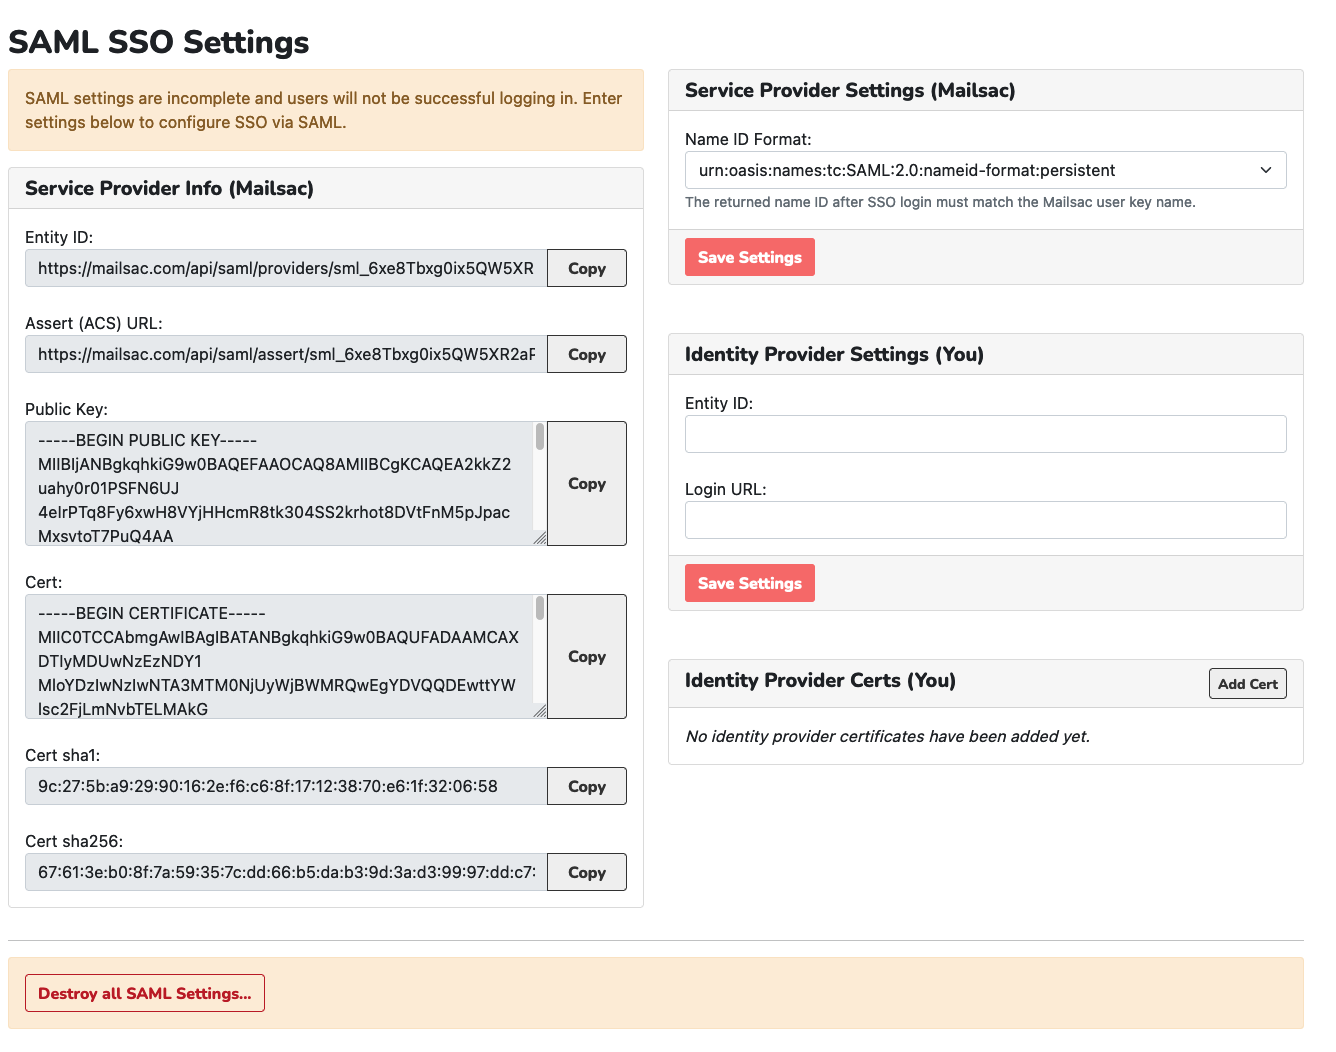
SAML/SSO Settings
The process for configuring your identity provider will vary depending on the identity provider.
Adding SAML Users
In order to login using SSO a team user must be created with a username that matches the name ID returned from the SAML SSO provider. This is typically the username used to authenticate to the identity provider.
After the user is added as a team account user they will be able to login using SAML SSO.
Add a team user with the same name as returned by the identity provider
Removing SAML SSO Users
SAML SSO team users can be removed by clicking on the “Delete” button next to the user login on the API Keys and Users page.
Login as a SAML SSO User
The SSO login page, which can be accessed directly or found via the Standard Login, is used for SAML SSO logins.
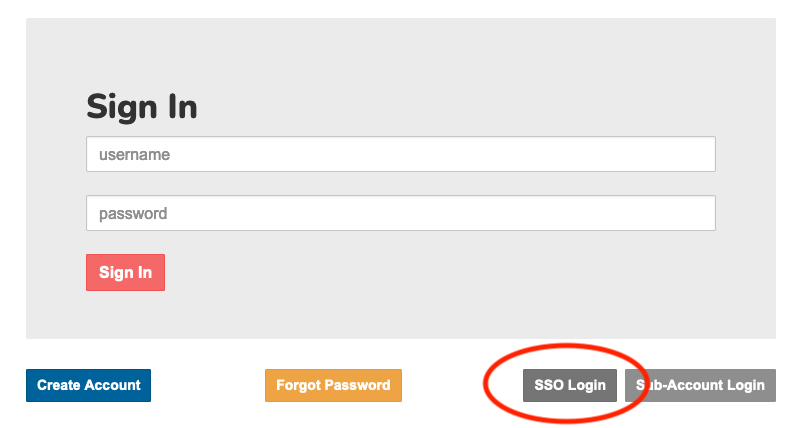
Select “SSO Login” to login using SSO
Enter the Primary Account ID, which is the Mailsac username used to configure SAML SSO, and the SSO email or User ID of the SSO user. Select “Generate SSO link” to be redirected to the SSO provider’s login page.
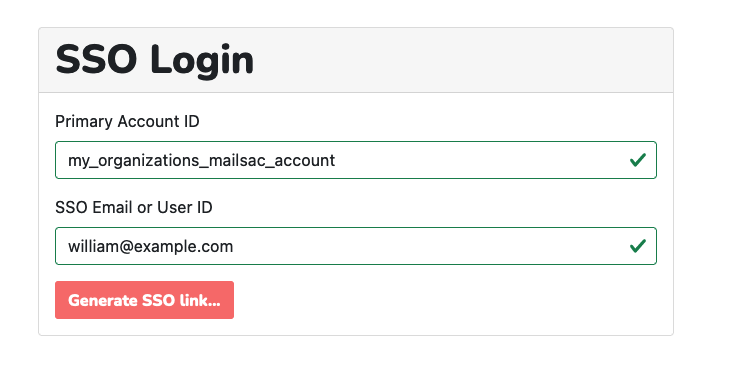
Enter primary Mailsac account ID and SSO email or User ID and select “Generate SSO link”
Once the identity provider has authenticated the user, the user will be redirected back the Dashboard completing the SAML SSO login process.